Introduction
This document explains how to configure and manage the ServiceNow SAML integration with the PureAUTH Identity Platform and make ServiceNow authentication Passwordless.
Prerequisites
Role Required : Administrator
Setup Multi-provider sso plugin (Optional)
If the Multi-provider SSO feature is not enabled, please follow the below steps.
- Login to ServiceNow console.
- Navigate to All > System definition > Plugins.
- Search SSO and search for Integration – Multiple Provider Single Sign-On Enhanced UI and Install.
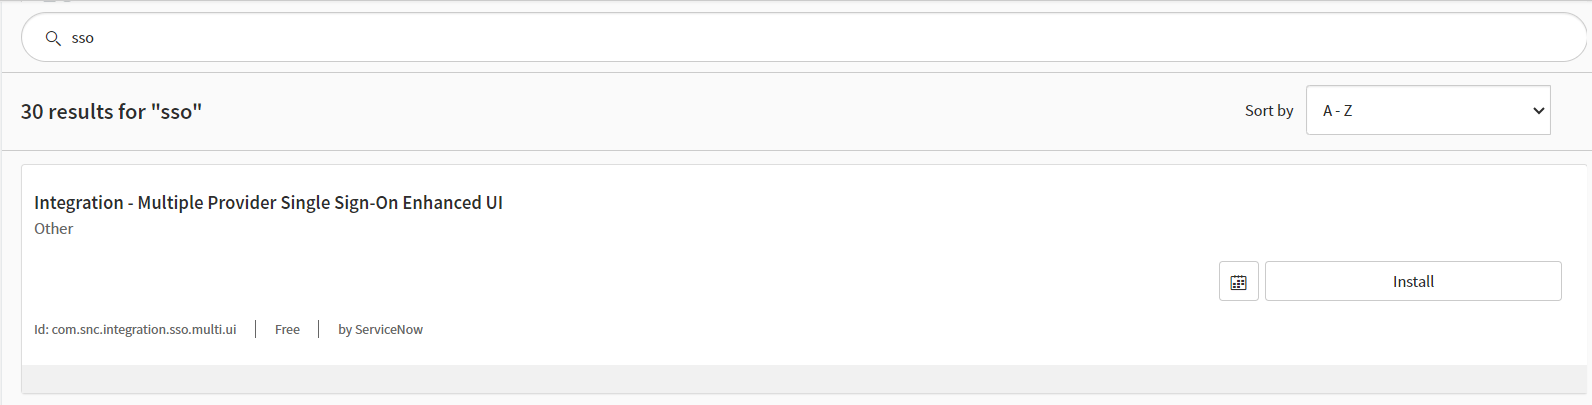
4. Successfully Installed.
Setup ServiceNow Application on PureAUTH
In this step we will add a new ServiceNow application on the N4cer portal. Please follow the steps given below:
- Login to https://live.pureauth.io/
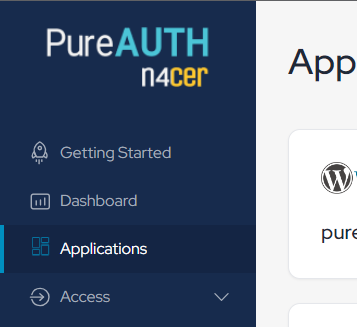
- Go to the “Applications” tab on the left pane.
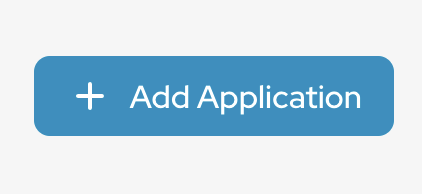
- Click on “Add Application”.
- Select “Custom app” application.

- Enter any application name. Ex. ServiceNow
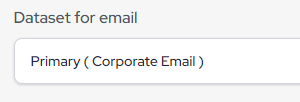
- Select “Primary (Corporate email)” in the dataset for the email field.
- In the “SAML Response Endpoint (ACS URL)” field, enter the following URL for now (It will change according to SP Metadata).
https://yourinstance.service-now.com/navpage.do
- In the “Audience (Entity ID)” field, enter the following URL for now (It will change according to SP Metadata).
https://yourinstance.service-now.com
- In the “SAML Logout Response Endpoint (SLO URL)” field, enter the following URL for now (It will change according to SP Metadata).
https://yourinstance.service-now.com/navpage.do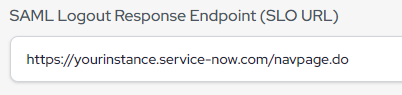
- Checked “Signed Assertion”
- Click “Add”
Create identity provider IDP metadata
- Go to https://www.samltool.com/idp_metadata.php
- Copy the IDP “Entity ID” from PureAUTH under the SAML Settings and paste it into the Entity ID field.
- Paste the same into the Single Sign On Service Endpoint (HTTP-REDIRECT) field.
- Copy the IDP “SAML Logout URL” from PureAUTH under the SAML Settings and paste it into the Single Logout Service Endpoint (HTTP-REDIRECT) field.
- Copy the IDP “X.509 CERTIFICATE” from PureAUTH under the SAML Settings and paste it into the SP X.509 cert (same cert for sign/encrypt) field.
Note: Copy the X.509 certificate from – – – – begin certificate – – – to – – – – end certificate – – – – .
- Scroll down and click on the “BUILD IDP METADATA” button.
- Copy the IdP metadata and paste it into Notepad.
- In the IdP metadata, change the year in the “ValidUntil = ” field from 2023 to 2033.
- In the IdP metadata, change the “nameid-format: ” field from unspecified to emailAddress.
- Copy the whole IdP metadata, it will be required for the next configuration.
ServiceNow SAML Configuration
- Login to ServiceNow Admin console.
- Navigate to All > Multi-Provider SSO > Identity Providers.
- To create a new configuration, Click New > SAML.
- In the Import Identity Provider Metadata pop up that appears, select XML and paste the XML file content you had copied in Step 10
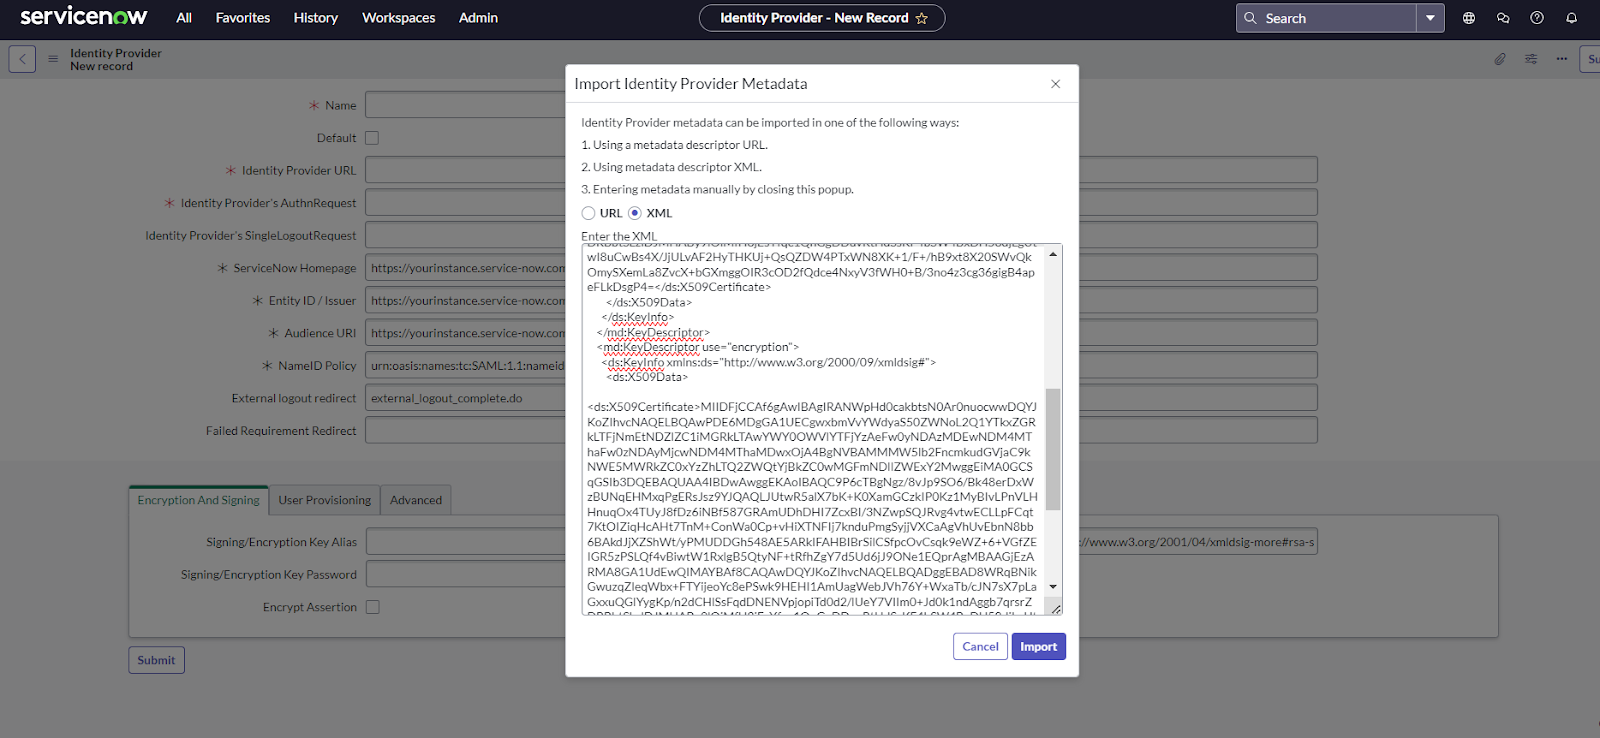
- Click Import.
- All the required fields will be auto-filled. Scroll down and click the Advanced tab. Make sure in the User Field that the value “email” is entered.

- Click Test Connection. It will open a pop-up window and ask for authentication using the AuthVR5 application.
- Once the connection is successful, click Activate.
- Now click on the Additional Actions icon from the identity provider title menu, select Copy sys_id. Paste the value in a note and keep it safe.

- In the left pane, navigate to Multi-Provider SSO > Administration > Properties.
- Make sure that Enable multiple provider SSO and Enable debug logging for the multiple provider SSO Integration is enabled.
- In the field for user identification, change “user_name” to email as the value.

- Click Save.
- In the left pane, navigate to User Administration > Users.
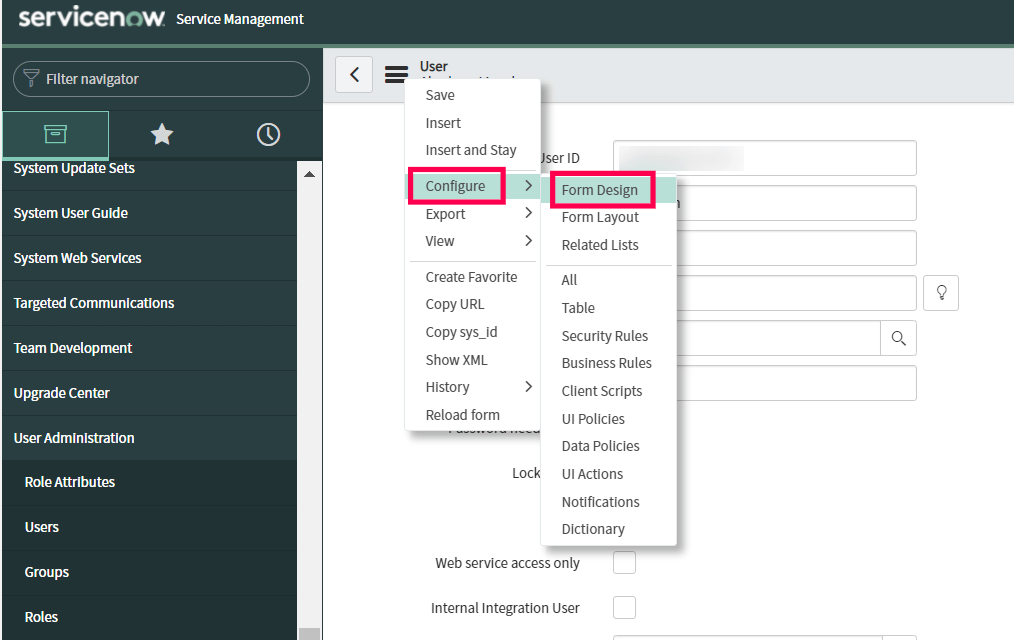
- Select a user for whom you want to enable SSO and click his/her username.
- Now click the Additional Actions icon and select Configure → Form Design.

- Drag and drop the SSO source field from the left pane into the user’s form and click Save.

- In the SSO source field, paste the sys_id you had copied in step 22. Append “sso:” before the sys_id value. For example, if the sys_id copied is “c72cd16b47680210a5aceb02d16d4362“, after appending sso the new value to be updated in SSO source field will be “sso:c72cd16b47680210a5aceb02d16d4362“.

- Click Update.
- Repeat steps for other users to whom you want to enable SSO.
Congratulations! Now you are using ServiceNow Passwordless.
Test SAML Authentication
- Login to your ServiceNow Endpoint.
- Click on Login with SSO.

- Enter your corporate Email address, Click Submit.
- The browser redirects you to the PureAUTH sign-in Page.
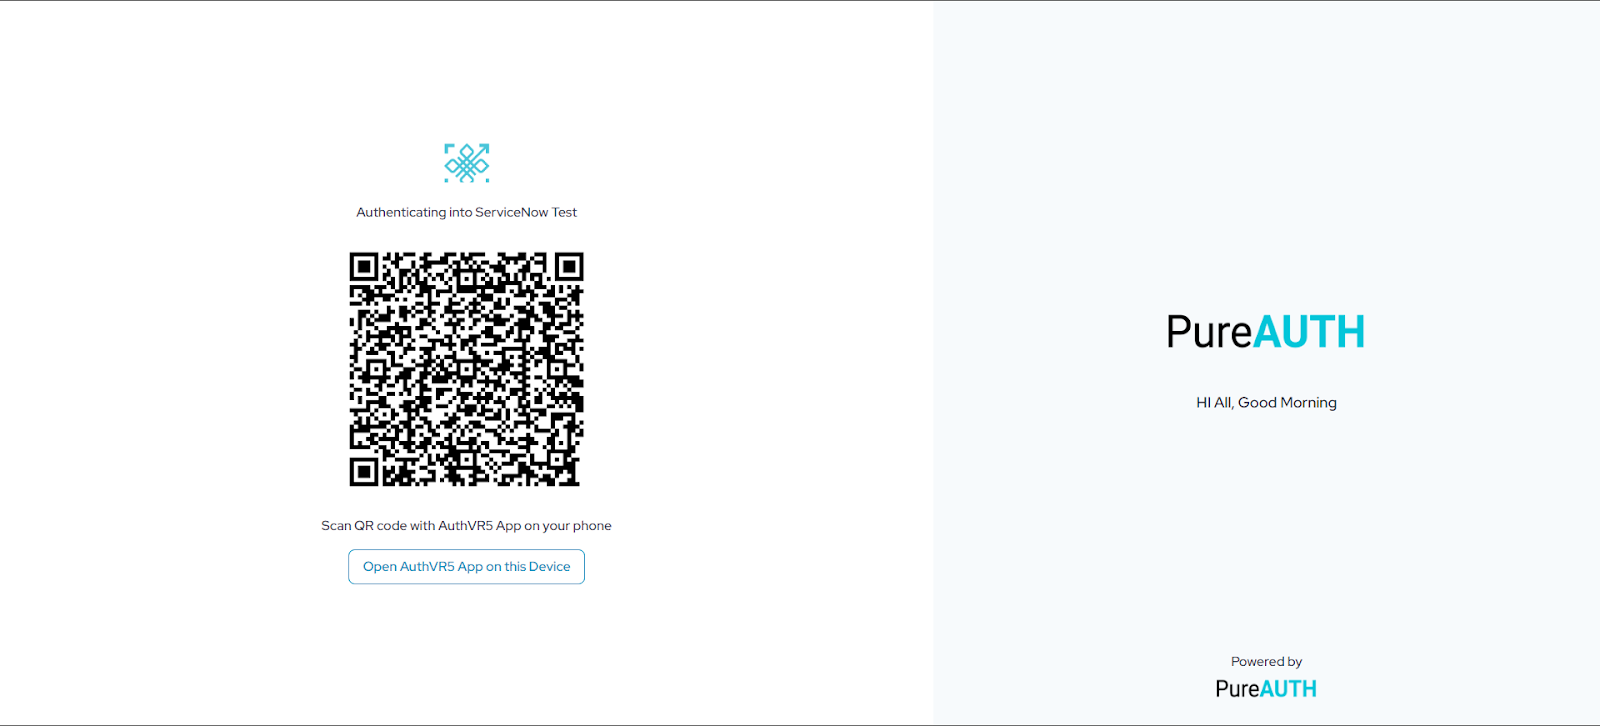
- From Mobile : Open the AuthVR5 Authenticator application and Scan the QR using the swift login button
- From Desktop : Click the button below the QR code, and enter your PIN.
Disable SAML Authentication
- Login to ServiceNow Admin console.
- Navigate to All > Multi-Provider SSO > Identity Providers.
- Click on PureID IdP.
- Click on Deactivate.
Further Support
For further information or assistance, please contact PureID support team support@pureid.io.