Introduction
This document explains how to configure and manage the Manage Engine Endpoint Central SAML integration with the PureAUTH Identity Platform and make Manage Engine Endpoint Central authentication Passwordless
Prerequisites
- Must have Endpoint Central administration access.
- Must have PureAUTH Identity provide administrator access.
Setup Manage Engine Endpoint Central application on PureAUTH
In this step we will add a new Endpoint Central application on the N4CER portal. Please follow the steps given below:
- Login to https://live.pureauth.io/
- Go to the “Applications” tab on the left pane.
- Click on “Add Application”.
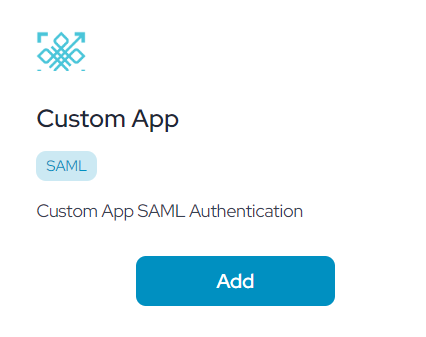
- Select “Custom app” application.
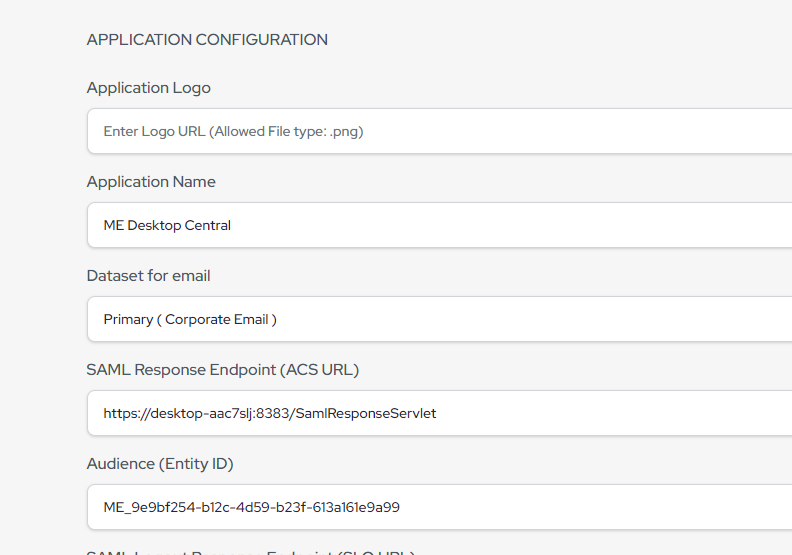
- Enter any application name.
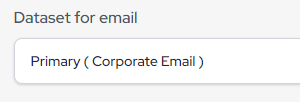
- Select “Primary (Corporate email)” in the dataset for the email field.
- In the “SAML Response Endpoint (ACS URL)” field, enter the following URL for now (It will change according to SP Metadata).
www.example.com
- In the “Audience (Entity ID)” field, enter the following URL for now (It will change according to SP Metadata).
www.example.com
- Click “Add”
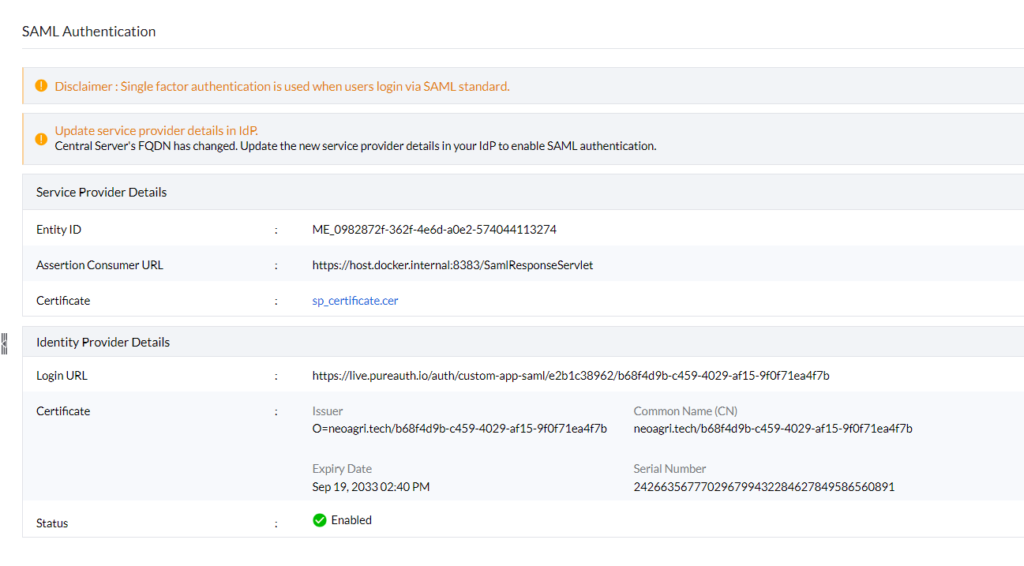
Manage Engine Endpoint Central SAML configuration
- Login to Endpoint Central console
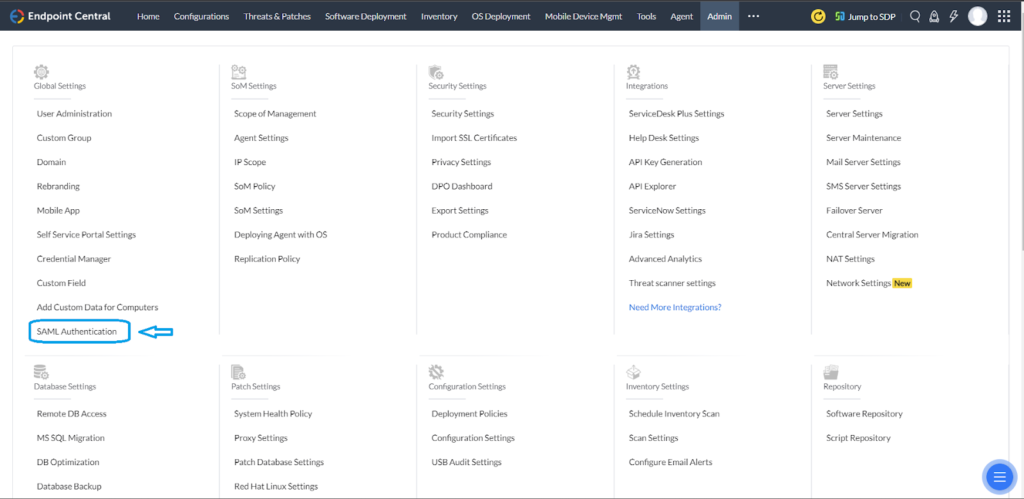
- Go to Admin > SAML Authentication
- Choose Certificate next to Configuration by downloading. Copy the Entity ID and Assertion Consumer URL.
- Paste it into the respective field in the PureAUTH Portal. refer above “Setup Manage Engine Endpoint Central application on PureAUTH”
- In the Endpoint Central web console, under Identity Provider Details, choose Others as IdP. Provide a suitable name for the IdP, and choose E-mail ID as Name ID. Next, select Metadata.
Create IDP Metadata
- Go to https://www.samltool.com/idp_metadata.php
- Copy the IDP “Entity ID” from PureAUTH under the SAML Settings and paste it into the Entity ID field.
- Paste the same into the Single Sign On Service Endpoint (HTTP-REDIRECT) field.
- Copy the IDP “SAML Logout URL” from PureAUTH under the SAML Settings and paste it into the Single Logout Service Endpoint (HTTP-REDIRECT) field.
- Copy the IDP “X.509 CERTIFICATE” from PureAUTH under the SAML Settings and paste it into the SP X.509 cert (same cert for sign/encrypt) field.
Note: Copy the X.509 certificate from – – – – begin certificate – – – to – – – – end certificate – – – – .
- Scroll down and click on the “BUILD IDP METADATA” button.
- Copy the IdP metadata and paste it into Notepad.
- In the IdP metadata, change the year in the “ValidUntil = ” field from 2023 to 2033.
- Save the file with the .xml extension. Ex. manageenginemetadata.xml
- In Step 5, click “Browse” to upload the IdP metadata file and click “Save”
- SAML Authentication is now enabled in Endpoint Central.
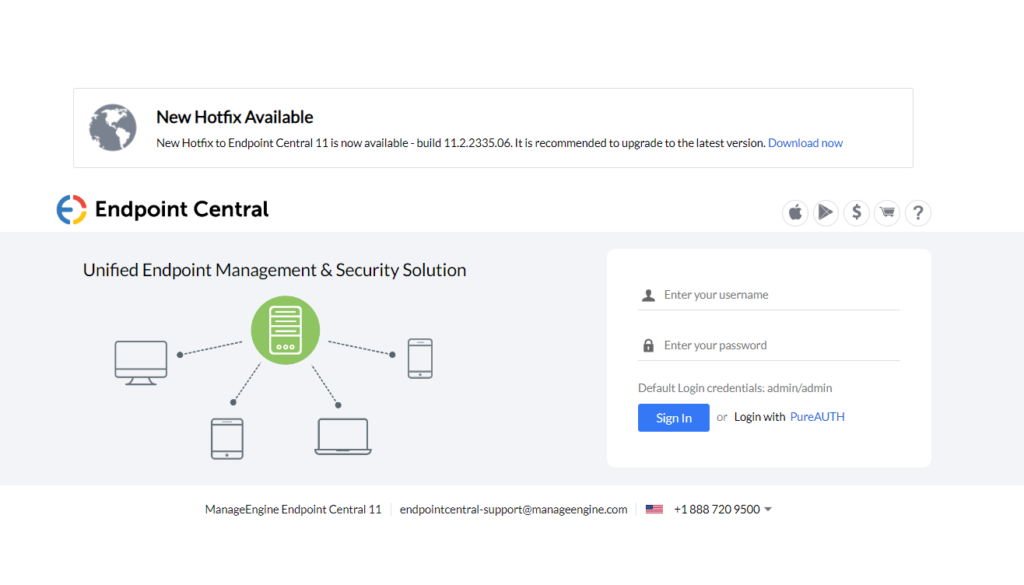
Test SAML Authentication
- Login to Endpoint Central using PureAUTH.
2. The browser redirects you to the PureAUTH sign-in Page.
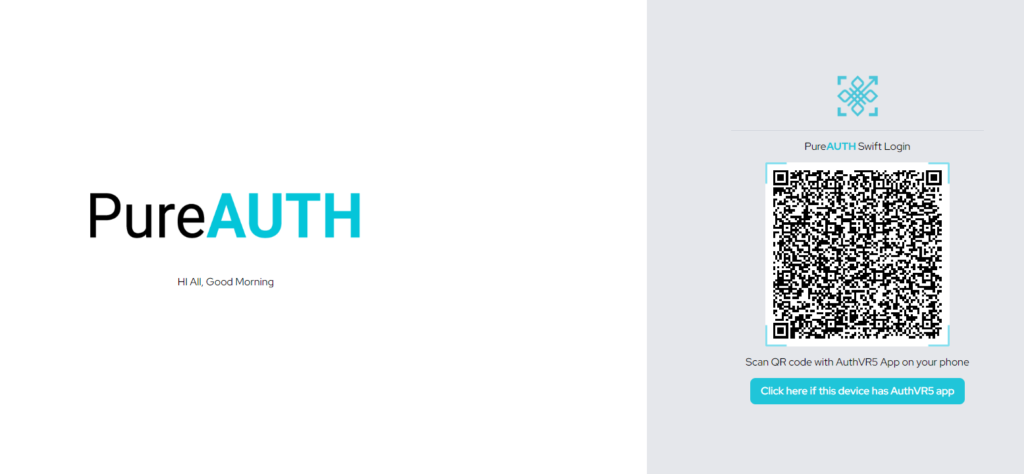
3. Open the AuthVR5 Authenticator application and Scan the QR using the swift login button.
Disable SAML Authentication
- Login to Endpoint Central console
- Go to Admin > SAML Authentication > Disable
Further Support
For further information or assistance, please contact PureID support team support@pureid.io.