Introduction
This document explains how to configure and manage Jenkins integration with the PureAUTH Identity Platform and make Jenkins authentication Passwordless.
Add Jenkins SAML application on PureAUTH
- Login to https://live.pureauth.io/organizations/login/
- Navigate to the Applications tab.
- Select “Add Application”.
- Select “Jenkins App”.

- Enter Any application Name.
- Select Primary (Corporate Email) in the Dataset for email field.
- In the “SAML Response Endpoint (ACS URL)” field, enter the URL using the following pattern.
https://<YOUR-JENKINS-IP-OR-DOMAIN>/securityRealm/finishLogin
- In “Audience (Entity ID)” field, enter the URL using the following pattern:
https://<YOUR-JENKINS-IP-OR-DOMAIN>/securityRealm/finishLogin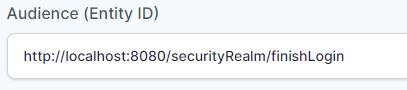
- In “SAML Logout Response Endpoint (SLO URL)” field enter the URL using the following pattern:
https://<YOUR-JENKINS-IP-OR-DOMAIN>/securityRealm/finishLogin?logoutendpoint=true
Sign Assertion : Unchecked
- Once the application is added, it will get redirected to the application detail page.
- Now, we need to generate IDP metadata. To generate metadata, please follow the below steps:
- Visit https://www.samltool.com/idp_metadata.php
- Now, from the application detail page, copy relevant values and paste them into the idp metadata form.
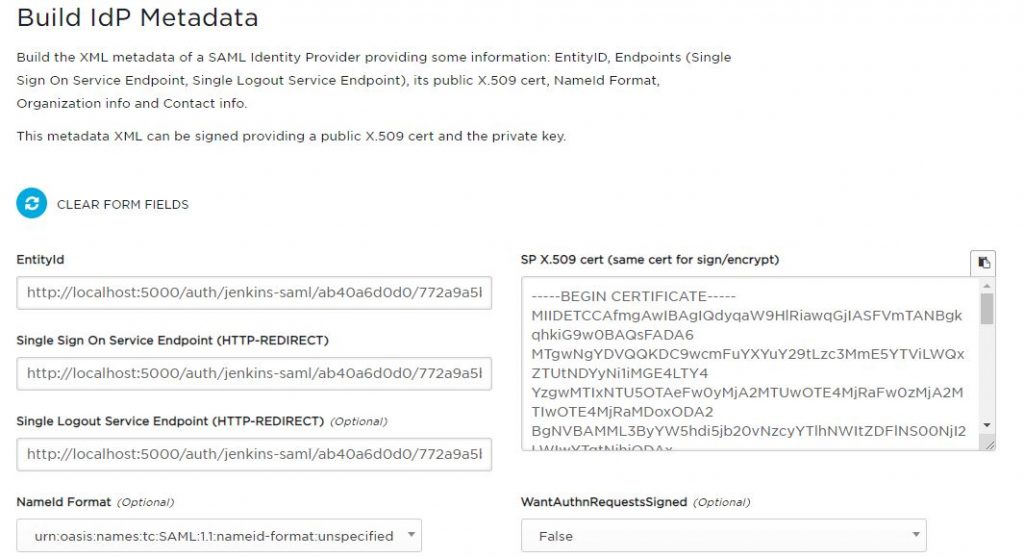
- You need to enter the following values:
- Entity ID is used in EntityID.
- Login URL in Single Sign On Service Endpoint (HTTP-REDIRECT).
- Logout URL in Single Logout Service Endpoint (HTTP-REDIRECT).
- X509 certificate in SP X.509 cert (same cert for sign/encrypt).
- Now, click on Build IDP Metadata
- It will generate an XML document. Keep it aside, we will need it in the later part.
Setup SAML Plugins in Jenkins
Install SAML Plugins
- To install the SAML Plugin in Jenkins, please follow the below steps:
- Go to Manage Jenkins.
- Click on Manage Plugins.
- Click on the Available tab under Manage Plugins.
- Now, search for SAML.
- Install the Selected SAML plugin.

- After successful installation of the SAML Plugin, go to Manage Jenkins > Configure Global Security.
- Under Security Realm, choose SAML.
Setup SAML Configurations
- In Idp Metadata, paste the metadata which we recently generated in XML format and click on Validate Idp Metadata.
- Remove the previous pre-filled value from the DisplayName attribute and replace it with Name.
- Enter Email in both the Username and Email attributes.
- In Logout URL, paste the Logout URL from the PureAUTH application detail page.
- Click on Save and Apply.

- Now, visit http://YOUR-JENKINS-IP-DOMAIN/ to test authentication.
- Congratulations! You are now using Jenkins passwordless.
Further Assistance
For further information or assistance, please contact PureID support team : support@pureid.io.