Introduction
This document explains how to configure and manage Zendesk integration with the PureAUTH Identity Platform and make Zendesk authentication Passwordless.
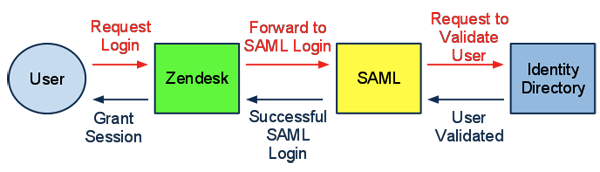
How SAML SSO for Zendesk works
SAML for Zendesk works the way SAML does with all other service providers. A common use case is a company where all user authentication is managed by a corporate authentication system such as Active Directory or LDAP (generically referred to as an identity provider or IdP). Zendesk establishes a trust relationship with the identity provider and allows it to authenticate and sign in users to Zendesk accounts.
A common use case is a user who signs in to their corporate system at the beginning of the work day. Once signed in, they have access to other corporate applications and services (such as email or Zendesk Support) without having to sign in separately to those services.
If a user attempts to sign in directly to a Zendesk account, they are redirected to your SAML server or service for authentication. Once authenticated, the user is redirected back to your Zendesk account and automatically signed in.
Add Zendesk SAML application on PureAUTH
- Login to https://live.pureauth.io/organizations/login/
- Navigate to the Applications tab.
- Select “Add Application”.
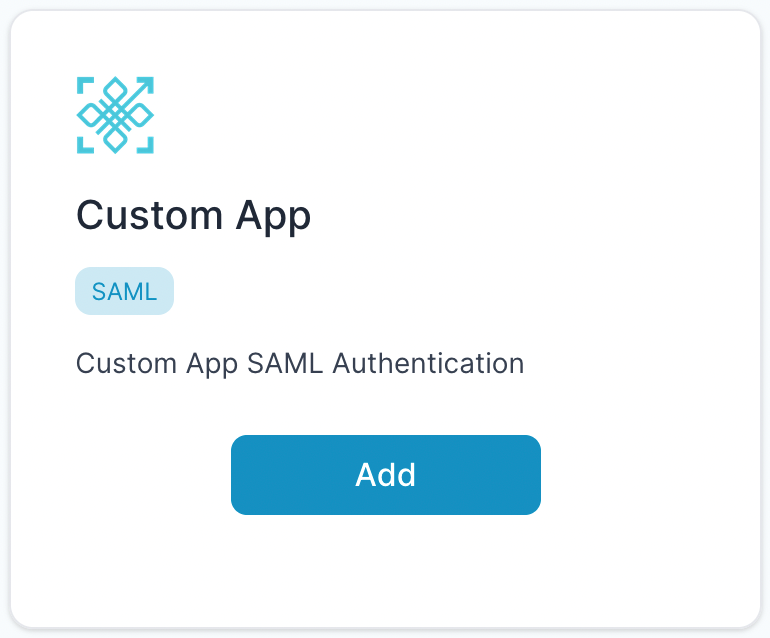
- Select “Custom App”.
- Enter Any application Name.
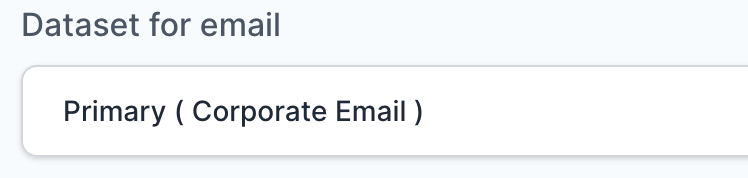
- Select Primary (Corporate Email) in the Dataset for email field.
- In the “SAML Response Endpoint (ACS URL)” field, enter the URL using the following pattern.
https://<Your Team name>.zendesk.com/access/saml/
- In “Audience (Entity ID)” field, enter the URL using the following pattern:
https://<Your Team name>.zendesk.com/access/saml/
- Click “Add“
To enable SAML single sign-on in Zendesk
- In Admin Center, click Account in the sidebar, then select Security > Single sign-on.
- Click Create SSO configuration then select SAML.
- Enter a unique Configuration name. (Ex. PureAUTH SAML)
- For SAML SSO URL, enter the remote login URL form the PureAUTH Portal.
- For SHA-256 Certificate fingerprint.
- Go to https://www.samltool.com/fingerprint.php.
- Copy X.509 Certificate from PureAUTH and Paste X.509 field.
- Change Algorithm type SHA256.
- Click “Calculate Fingerprint“
- Copy Fingerprint and paste into Certificate Fingerprint field in Zendesk.
- Copy SAML Logout URL from PureAUTH and paste into Remote Logout URL Field.
- Click “Save“
Note: By default, enterprise SSO configurations are inactive. You must assign the SSO configuration to users to activate it.
Assigning SAML SSO to users
After creating your SAML SSO configuration, you must activate it by assigning it to end users, team members, or both.
- In Admin Center, click Account in the sidebar, then select Security > Team member authentication.
- Check the “External authentication.”

- Select “Single-sign-on (SSO) Method”.
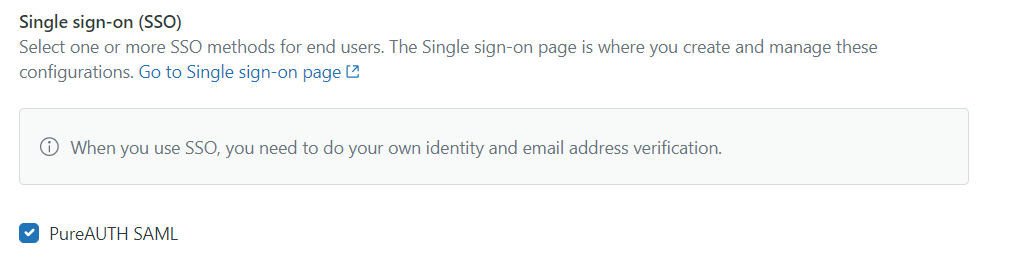
- Click “Save“
- In Admin Center, click Account in the sidebar, then select Security > End User authentication.
- Check the “External authentication“.
- Select “Single-sign-on (SSO) Method“.
- Click “Save“
- Congratulations! You are now using Zendesk passwordless.
For SSO Bypass (optional)
- Use https://<Your team name>.zendesk.com/access/sso_bypass for SSO Bypass.
Further Assistance
For further information or assistance, please contact PureID support team : support@pureid.io.