Introduction
This document explains how to configure and manage FortiGate SSL VPN integration with the PureAUTH Identity Platform and make FortiGate authentication Passwordless.
The document includes the following steps:
- Add FortiGate SAML application on the PureAUTH platform.
- Download and import the remote certificate into FortiGate.
- Configure the FortiGate SP to be a SAML user.
- Add the SAML user to the user group.
- Configure SSL VPN
- Add the SAML user group to a firewall policy.
Add FortiGate SAML application on PureAUTH
- Login to https://live.pureauth.io/organizations/login/
- Navigate to the Applications tab.
- Select “Add Application”.
- Select “Custom App”.
- Enter Any application Name.
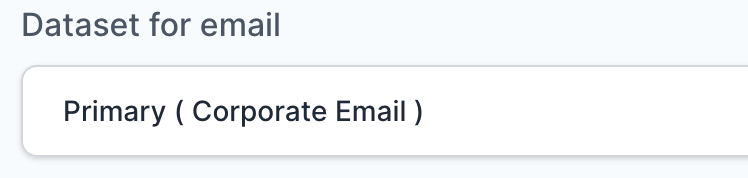
- Select Primary (Corporate Email) in the Dataset for email field.
- In the “SAML Response Endpoint (ACS URL)” field, enter the URL using the following pattern.
https://<IP with port/domain with port>/remote/saml/login/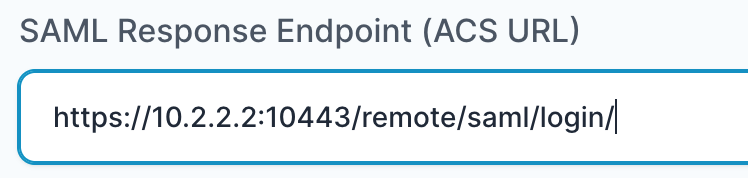
- In “Audience (Entity ID)” field, enter the URL using the following pattern:
https://<IP with port/domain with port>/remote/saml/metadata/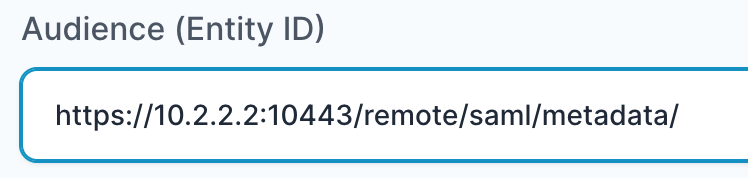
- In “SAML Logout Response Endpoint (SLO URL)” field enter the URL using the following pattern:
https://<IP with port/domain with port>/remote/saml/logout/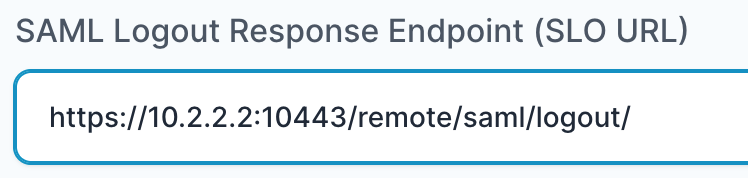
- Click on the “Add Attribute” button.
- Set the “Attribute Name” as “username”.
- Set the “Attribute Value” as “Primary (Corporate Email)”.

- Click the “Add button“.
- The application will be added and you will be shown SAML settings.
Note: Please also replace https with http whenever necessary (No SSL certificate is used)
Download and import remote certificate in FortiGate
- From the SAML Settings page, copy the X.509 certificate from:
—–BEGIN CERTIFICATE—– to —–END CERTIFICATE—–.
- Paste the certificate in a text editor and save it as a “.pem” file.
- Navigate to the certificates page in the FortiGate management console.
- Import a remote certificate > Import the newly created certificate.
- Note the name of the certificate created. It might be similar to “REMOTE_Cert_1”.
Configure the FortiGate SP to be a SAML user
Open the FortiGate CLI and Follow the below steps to configure SAML:
- Run the following commands, replace the highlighted portion with your IP/Domain.
config user saml

edit "pureauth"

set entity-id "https://<IP/domain:port>/remote/saml/metadata/"

set single-sign-on-url "https://<IP/domain:port>/remote/saml/login/"

set single-logout-url "https://<IP/domain:port>/remote/saml/logout/"
Note: These are the same URLs that you have set in the PureAUTH portal.
- Continue with the following commands by referring to the SAML settings page in the PureAUTH portal.
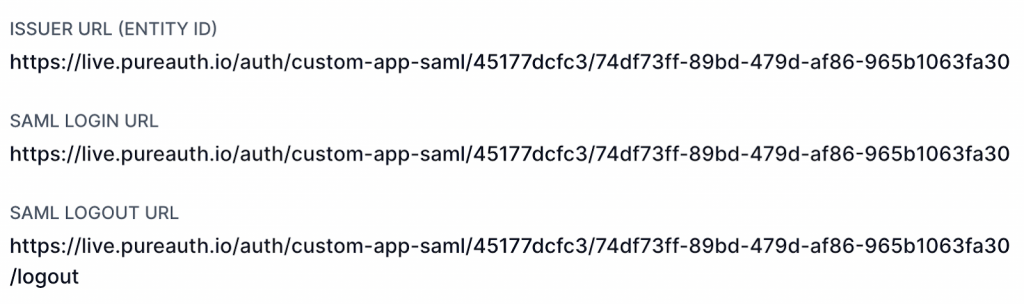
set idp-entity-id "Issuer URL (Entity ID) From PureAUTH"

set idp-single-sign-on-url "SAML Login URL From PureAUTH"

set idp-single-logout-url "SAML Logout URL From PureAUTH"- Finally, we can set the certificate that we imported and the attribute that we set in PureAUTH.
set idp-cert "REMOTE_Cert_1"

set user-name "username"

set digest-method sha256

next

end
Add the SAML user to the user group
Run the following commands to add the user to a group.
config user group

edit "saml_sslvpn"

set member "pureauth"

next

end
Group mapping may also be configured here.
Configure SSL VPN
- Navigate to the SSL VPN settings.
- Add the “saml_sslvpn” group to Authentication/Portal mapping.
- Add the relevant portal Access policy (e.g. full-access).
Add the SAML user group to a firewall policy
- Navigate to the Policy and Objects page and edit / create a new Firewall policy.
- Add the “saml_sslvpn” group in the source field.
To check whether the Configuration was successful, enter the portal address in a browser.
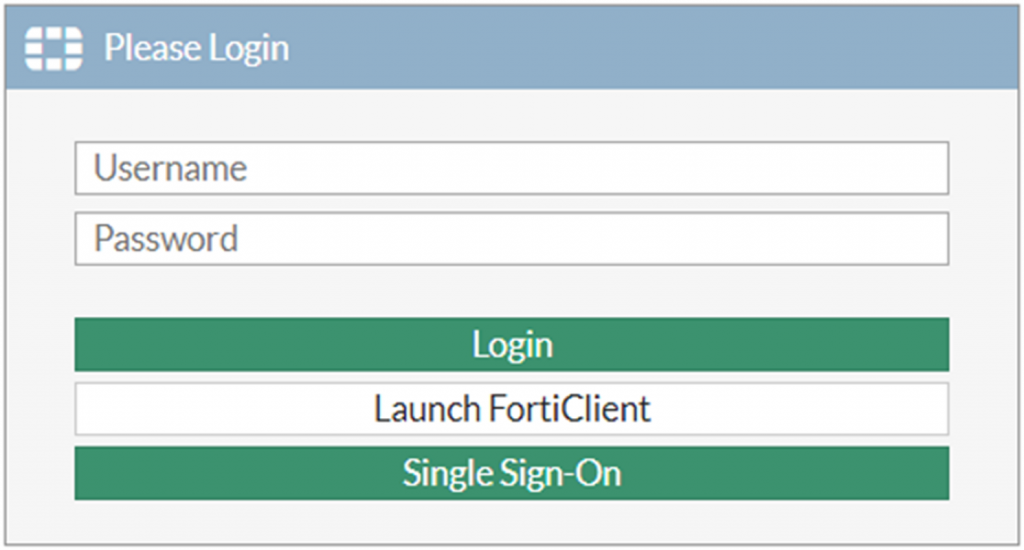
If you see the Single Sign-On button, you have successfully configured FortiGate SSL VPN with PureAUTH.
For more information, refer to the official FortiGate Documentation here.
Increase client timeout (Optional)
Run the following commands to Increase the client timeout.
- config system global
- set remoteauthtimeout 90
- end
Further Assistance
For further information or assistance, please contact PureID support team : support@pureid.io.