Introduction
This document explains how to install the Sustainsys library and configure it to work with the PureAUTH Identity Platform and make DotNet core applications passwordless.
Requirements
ASP.NET Core Web Application ( .Net core 3.0 )
Prerequisite
- Sustainsys.Saml2.AspNetcore2 Library – Author : Sustainsys
NuGet package installation
- Install the Sustainsys.Saml2.AspNetcore2 Library from Project > Manage NuGet Packages > Sustainsys.Saml2.AspNetcore2 by Sustainsys

Add DotNet Core SAML application on PureAUTH
- Login to https://live.pureauth.io/organizations/login/
- Navigate to the Applications tab.
- Select “Add Application”.
- Select “Custom App”.
- Enter Any application Name.
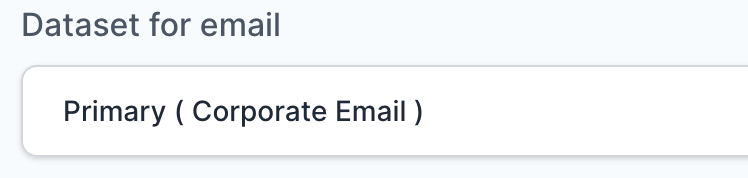
- Select Primary (Corporate Email) in the Dataset for email field.
Instead of localhost, you can use your “https://<domain with port>/Saml2/Acs“
- In the “SAML Response Endpoint (ACS URL)” field, enter the URL using the following pattern.
https://<domain with port>/Saml2/Acs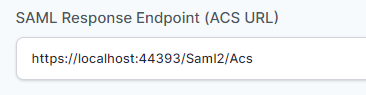
- In “Audience (Entity ID)” field, enter the URL using the following pattern:
https://<domain with port>/Saml2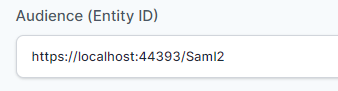
- In “SAML Logout Response Endpoint (SLO URL)” field enter the URL using the following pattern:
https://<domain with port>/Saml2
Sign Assertion : checked

Library Configuration
- Add Below Directives in startup.cs
using WebApplicationC2.Data;
using Sustainsys.Saml2.Metadata;
using Sustainsys.Saml2;
using System.Security.Cryptography.X509Certificates;
using Sustainsys.Saml2.WebSso;
using System.IO;
using System;- The field highlighted in Pink, set the directives as per the application name.
- Inside ConfigureServices() Section add below services.AddAuthentication().
 services.AddAuthentication()
  .AddSaml2(options =>
    {
     options.SPOptions.EntityId = new EntityId("https://localhost:44393/Saml2");
    var idp = new IdentityProvider(new EntityId("https://live.pureauth.io/auth/custom-app-saml/45177dcfc3/10b42280-4787-45fe-909a-6fc9a2bcb0ff"), options.SPOptions)
     {

        AllowUnsolicitedAuthnResponse = true,
        Binding = Saml2BindingType.HttpRedirect,
        SingleSignOnServiceUrl = new Uri("https://live.pureauth.io/auth/custom-app-saml/45177dcfc3/10b42280-4787-45fe-909a-6fc9a2bcb0ff")

      };

    idp.SigningKeys.AddConfiguredKey(new X509Certificate2(Path.Combine("C:\\PureAuth\\WebApplicationC2", "cert.pem")));
options.IdentityProviders.Add(idp);
    });
- The field highlighted in Red will be the SP Entity ID https://<domain with port>/Saml2.
- The field highlighted in Orange will be the Idp Entity ID to be configured in the PureAuth Portal.
- The field highlighted in Blue will be the SAML LOGIN URL to be configured in the PureAuth Portal.
- The field highlighted in Green will be the X.509 CERTIFICATE to be configured in the PureAuth Portal. ( Follow the steps below to add an X.509 certificate. )
- Create Notepad file in project folder.
- Copy X.509 CERTIFICATE from PureAUTH portal and paste in notepad.
- Save file as .pem Extension.
Verify SAML Authentication
- Visit the Login endpoint.
- You will be redirected to PureAuth.
- Open the AuthVR5 app and scan the QR code using Swift Login.
Further Assistance
For further information or assistance, please contact PureID support team : support@pureid.io.