Introduction
This document explains how to configure and manage AWS SAML integration with the PureAUTH Identity Platform and make AWS authentication Passwordless.
Add AWS SAML application on PureAUTH
- Login to https://live.pureauth.io/organizations/login/
- Navigate to the Applications tab.
- Select “Add Application”.
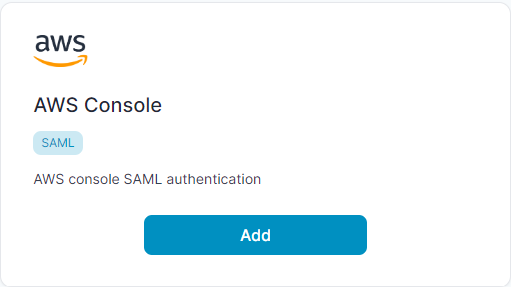
- Select “AWS Console”.
- Enter Any Application Name.
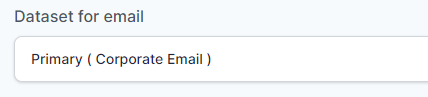
- Select Primary (Corporate Email) in the Dataset for email field.
- In the “Saml Response Endpoint (ACS URL)” field, enter the given URL :
https://signin.aws.amazon.com/saml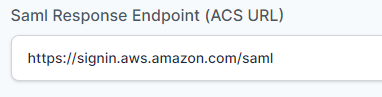
- In “Audience (Entity ID)” field, enter the given URL :
urn:amazon:webservices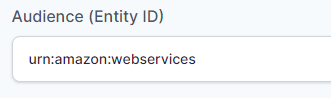
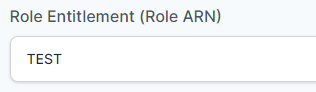
- In the “Role Entitlement (Role ARN)” field, enter “TEST” word for now (Value is generated after the integration is done).
- Click “Add“
Setup PureAUTH Identity Provider in IAM Identity Provider (console).
- Sign in to the AWS Management Console and open the IAM console at https://console.aws.amazon.com/iam/
- In the navigation pane, choose Identity providers and then choose Add provider.
- For Configure provider, choose SAML.
- Type a name for the identity provider (Ex. PureAUTH).
- For Metadata document, follow the below steps to create metadata document.
- Visit https://www.samltool.com/idp_metadata.php
- Now, from the PureAUTH application detail page, copy relevant values and paste them into the idp metadata form.
- You need to enter the following values:
- Entity ID is used in EntityID.
- Login URL in Single Sign On Service Endpoint (HTTP-REDIRECT).
- Logout URL in Single Logout Service Endpoint (HTTP-REDIRECT).
- X509 certificate in SP X.509 cert (same cert for sign/encrypt).
- Now, click on Build IDP Metadata, It will generate an XML document.
- Copy the Metadata and paste it into notepad > Save As > Save Type – select All Files > File name – AWSCert.xml
- Upload the AWSCert.xml metadata using choose file button.
- Verify the information that you have provided and click Add provider.
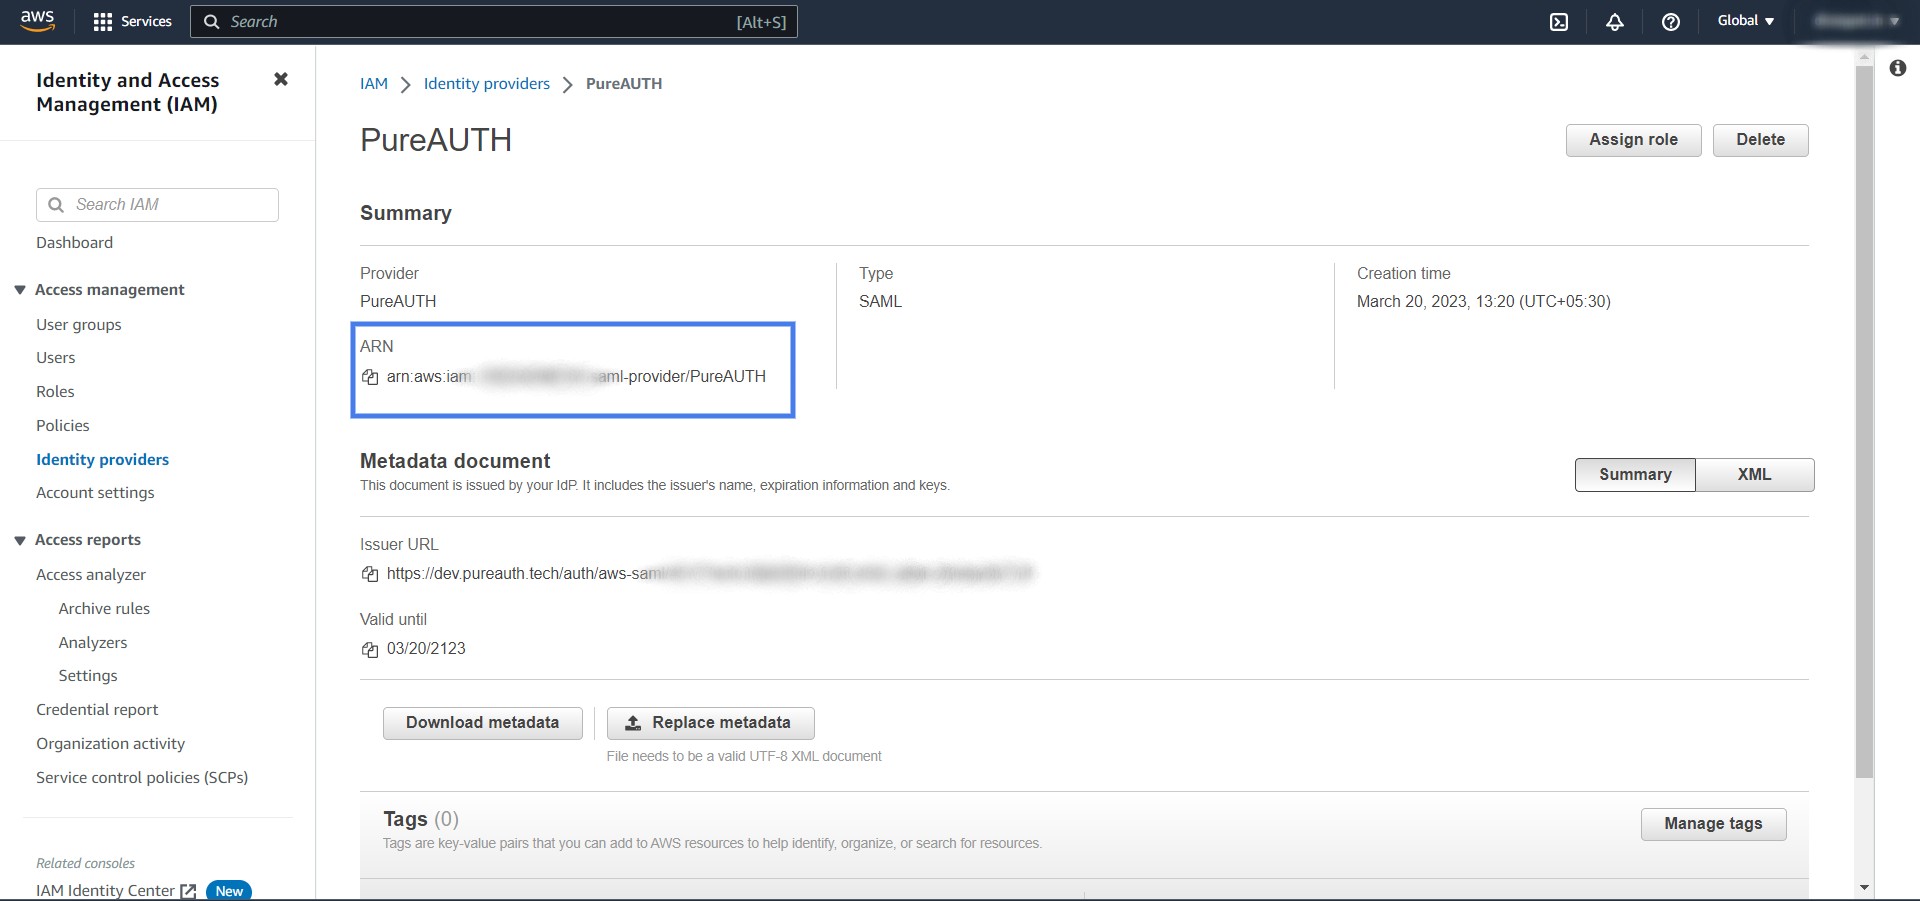
- Click on “PureAUTH” Identity provider.
- Copy the ARN value and paste into notepad for now.
Create SAML policy for new Roles
- In the navigation pane, go to Roles.
- Click button create role, In the Trusted entity type select SAML 2.0 federation.
- In the SAML 2.0- based provider select PureAUTH.
- Select “Allow programmatic and AWS Management Console access” and click Next.
- Select one of the below policies of your choice and click Next.
- Enter Role name and click create role.
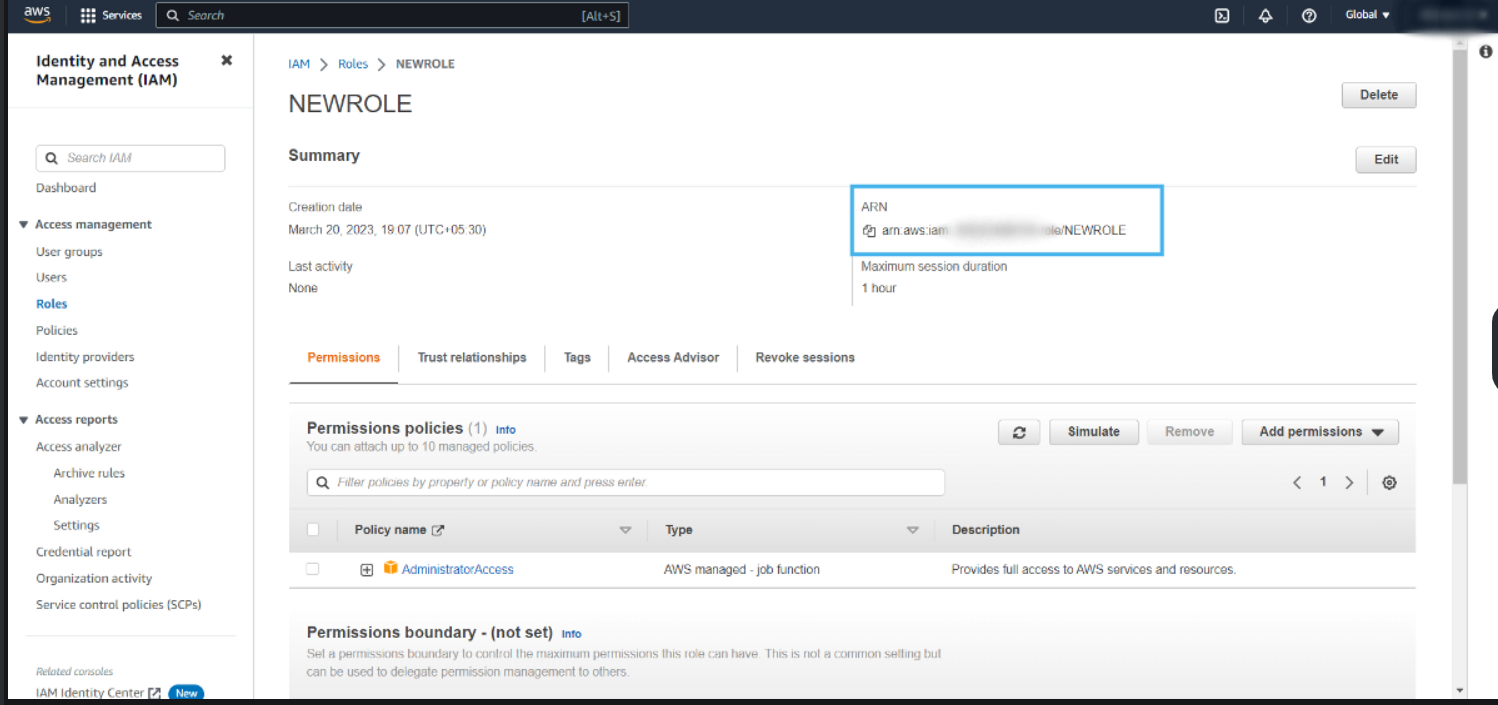
- Click on the role name that we have created in step 6.
- Copy the ARN value and paste into notepad for now.
Add ARN value into the PureAUTH
- We have copied the ARN value in the Notepad.
- First copy the Role ARN value and paste into “Role Entitlement (Role ARN)” field in PureAUTH.
- Give coma ( , ) after Role ARN value and paste Identity provider ARN value after the com ( , ).
- The “Role Entitlement (Role ARN)” looks below format.
arn:aws:iam::3096155:role/TESTROLE,arn:aws:iam::3096155:saml-provider/PureAUTH- Congratulations! You are now using AWS passwordless.
Test the Authentication
- Login to https://live.pureauth.io/organizations/login/
- Go to Application > open AWS application.
- Copy the Issuer URL under SAML Settings and paste into the browser and try to authenticate.
Further Assistance
For further information or assistance, please contact PureID support team : support@pureid.io.