Introduction
This document explains how to configure and manage Slack integration with the PureAUTH Identity Platform and make Slack authentication Passwordless.
Add Slack SAML application on PureAUTH
- Login to https://live.pureauth.io/organizations/login/
- Navigate to the Applications tab.
- Select “Add Application”.
- Select “Slack App”.
- Enter Application Name, it could be anything you desire.
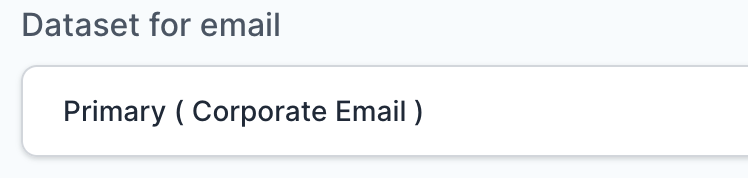
- Select Primary (Corporate Email) in the Dataset for email field.
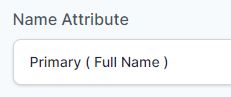
- Select Primary (Full Name) in the Dataset for name field.
- In the “SAML Response Endpoint (ACS URL)” field, enter the URL using the following pattern.
https://<yourdomain.slack.com>/sso/saml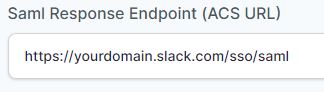
- In “Audience (Entity ID)” field, enter the URL using the following pattern:
https://slack.com
Set up SAML SSO for Slack
Note: We need Business+Subscription account.
Once you’ve configured your identity provider (IDP), a workspace owner can enable SSO:
- Click the workspace name in the top left corner of your desktop.

- Select Settings & administration from the menu, then click Workspace settings.
- Click the Authentication tab.
- Next to SAML authentication, click Configuration.
- In the top right, toggle Test mode on.
- Next to SAML SSO URL, enter your SAML 2.0 endpoint URL(HTTP).
- Next to Identity provider issuer, enter your IDP entity ID.
- Copy the entire x.509 certificate from your identity provider and paste it into the Public certificate field
- Next to Advanced options, click Expand. Choose how the SAML response from your IDP is signed. If you need an end-to-end encryption key, tick the box next to Sign AuthnRequest to show the certificate.
- Under Settings, decide if member can edit their profile information (like their email or display name) after SSO is enabled. You can also choose whether SSO is required, partially required* or optional.
- Under Customise, enter a Sign-in button label.
- Select Save configuration to finish.
- Now, visit https://yourdomain.slack.com/ to test authentication.
- Congratulations! You are now using slack passwordless.