Introduction
This document explains how to configure and manage SonarQube integration with the PureAUTH Identity Platform and make SonarQube authentication Passwordless.
Add SonarQube SAML application on PureAUTH
- Login to https://live.pureauth.io/organizations/login/
- Navigate to the Applications tab.
- Select “Add Application”.
- Select “Custom App”.
- Enter Any application Name.
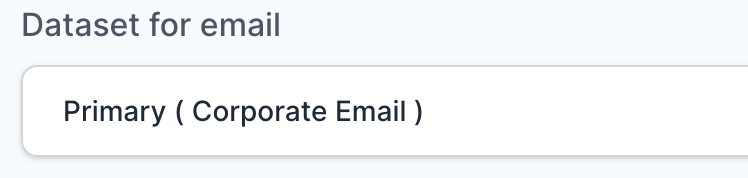
- Select Primary (Corporate Email) in the Dataset for email field.
- In the “SAML Response Endpoint (ACS URL)” field, enter the URL using the following pattern.
https://<IP with port/domain with port>/remote/saml/login/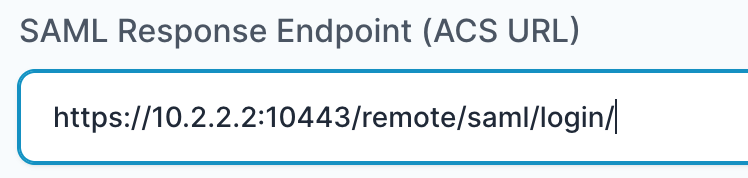
- In “Audience (Entity ID)” field, enter the URL using the following pattern:
https://<IP with port/domain with port>/remote/saml/metadata/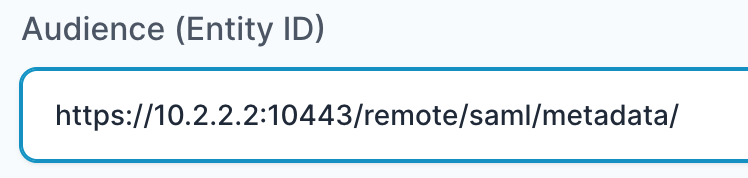
- In “SAML Logout Response Endpoint (SLO URL)” field enter the URL using the following pattern:
https://<IP with port/domain with port>/remote/saml/logout/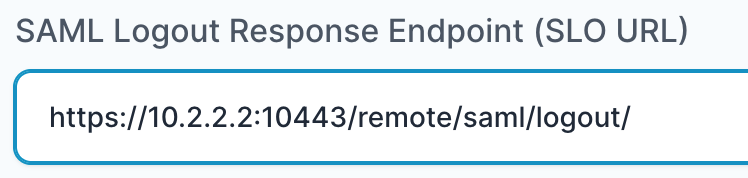
- Sign Assertion : Unchecked
- Custom Attributes :
- Name = Primary ( Full Name )
- Email = Primary ( Corporate Mail )
- Click on Add Application.
- Once the application is added, it will get redirected to the application detail page.
Setup SAML Configuration
- To configure SAML in SonarQube, follow these steps:
- Go to Administration tab in SonarQube.
- Click on Security.
- Now, Enable SAML support.
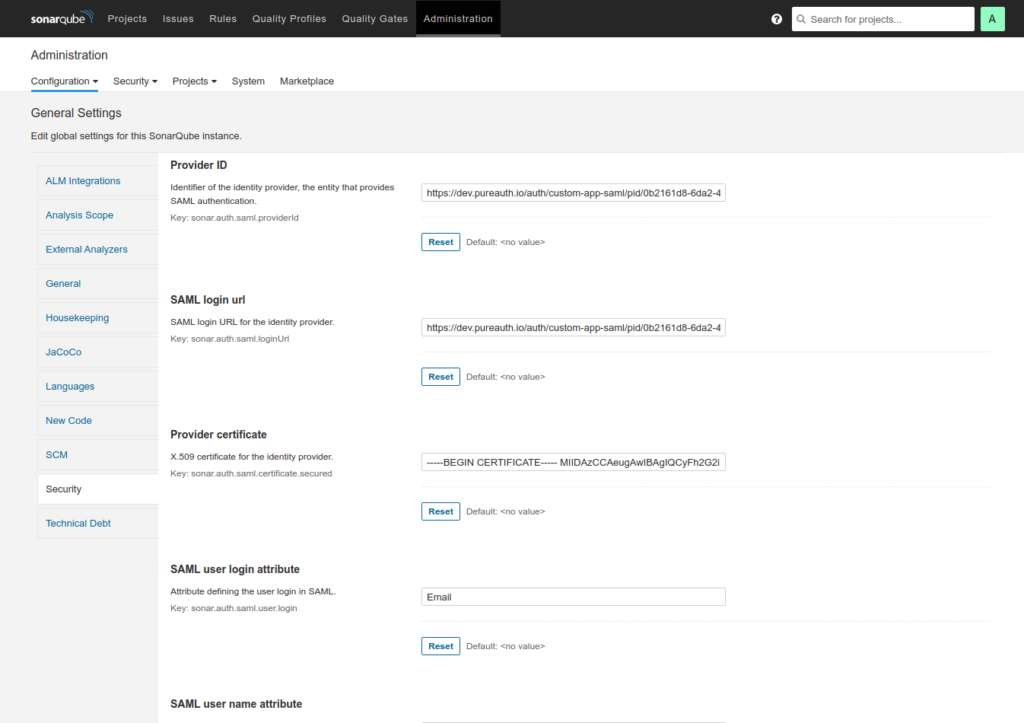
- Fill out the configuration as shown below:
- ProviderID = Entity ID URL (as specified on the PureAUTH application detail page).
- SAML Login URL = SAML Login URL (as specified on the PureAUTH application detail page).
- Provider Certificate = X509 Certificate (as specified on the PureAUTH application detail page).
- SAML user login attribute = Email
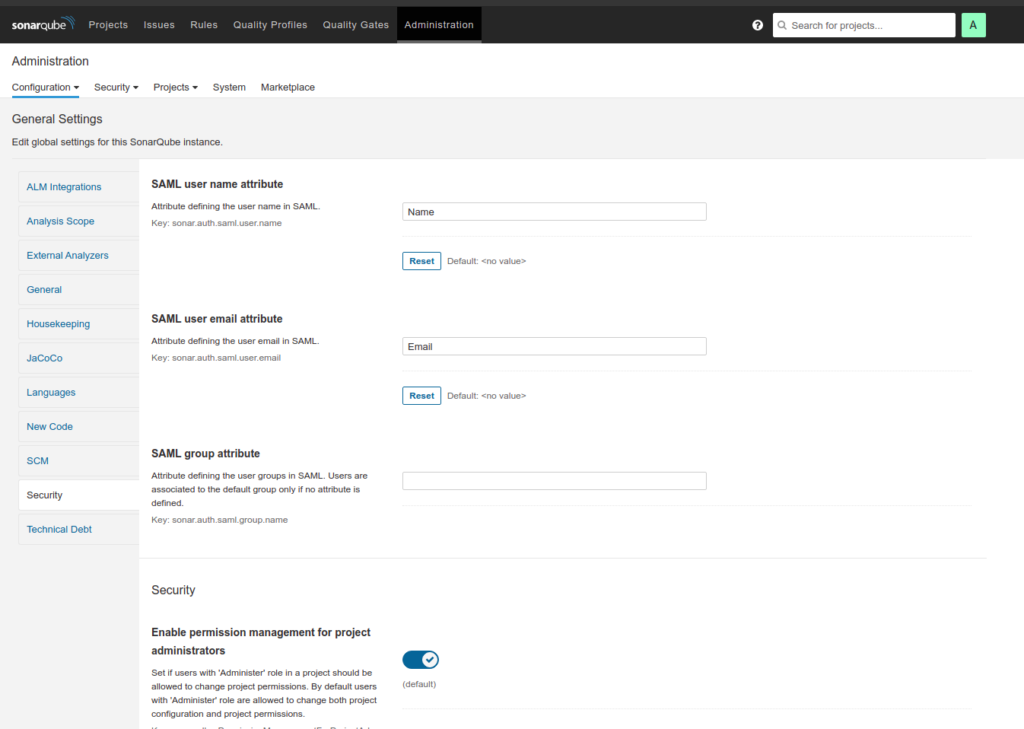
- SAML user name attribute = Name
- SAML user email attribute = Email
- Save Changes.
- We have configured SonarQube with PureAUTH, now to check visit your SonarQube IP address or domain and select Login with PureAUTH.
- Congratulations! You are now using SonarQube passwordless.