Introduction
This document explains how to configure and manage Salesforce integration with the PureAUTH Identity Platform and make Salesforce authentication passwordless.
Add Salesforce SAML application on PureAUTH
- Login to https://live.pureauth.io/organizations/login/
- Navigate to the Applications tab.
- Select “Add Application”.
- Select “Custom App”.
- Enter Any application Name.
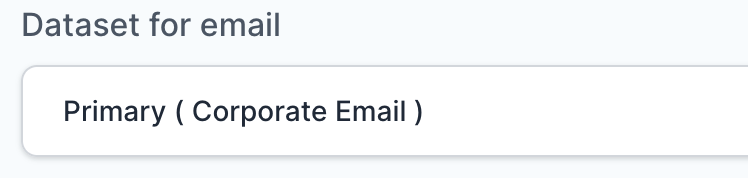
- Select Primary (Corporate Email) in the Dataset for email field.
- In the “SAML Response Endpoint (ACS URL)” field, enter the URL using the following pattern.
https://<IP with port/domain with port>/remote/saml/login/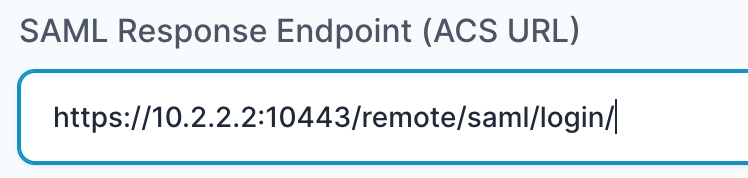
- In “Audience (Entity ID)” field, enter the URL using the following pattern:
https://<IP with port/domain with port>/remote/saml/metadata/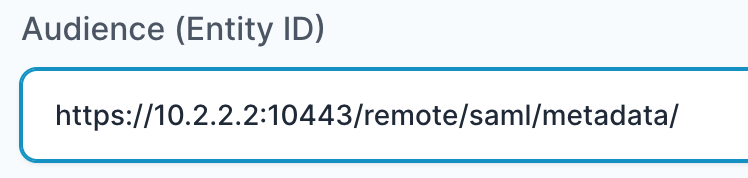
- In “SAML Logout Response Endpoint (SLO URL)” field enter the URL using the following pattern:
https://<IP with port/domain with port>/remote/saml/logout/
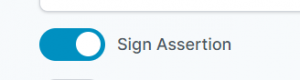
Sign Assertion : Checked
- Click “Add“
Steps to Add PureAUTH as IDP in SP
- CLICK HERE to log in to Salesforce with the administrator privileges.
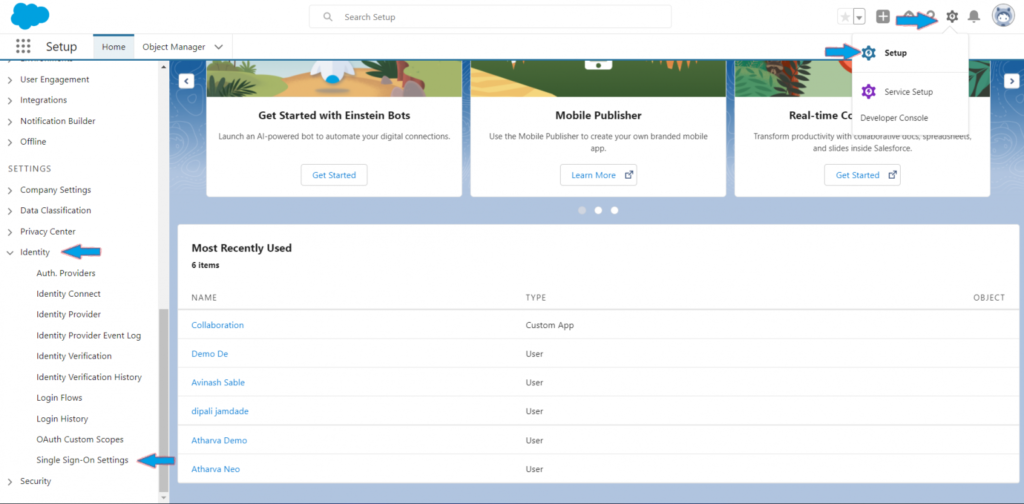
- Click on Setting Icon > Setup > Identity > Single-sign on Setting.
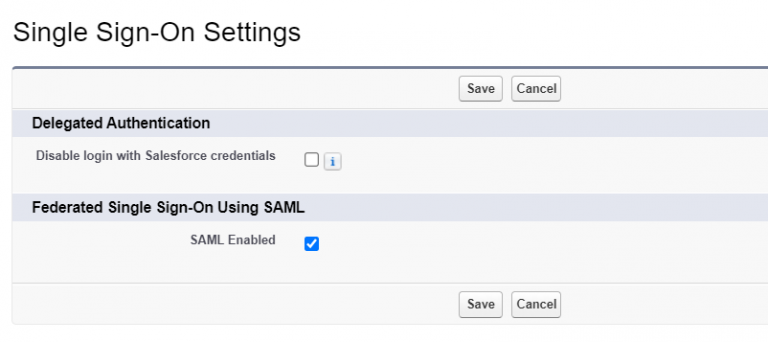
- Click on Edit Option.

- Check the SAML Enabled checkbox to enable SAML Single Sign-on, then Save.
- Click on New option.

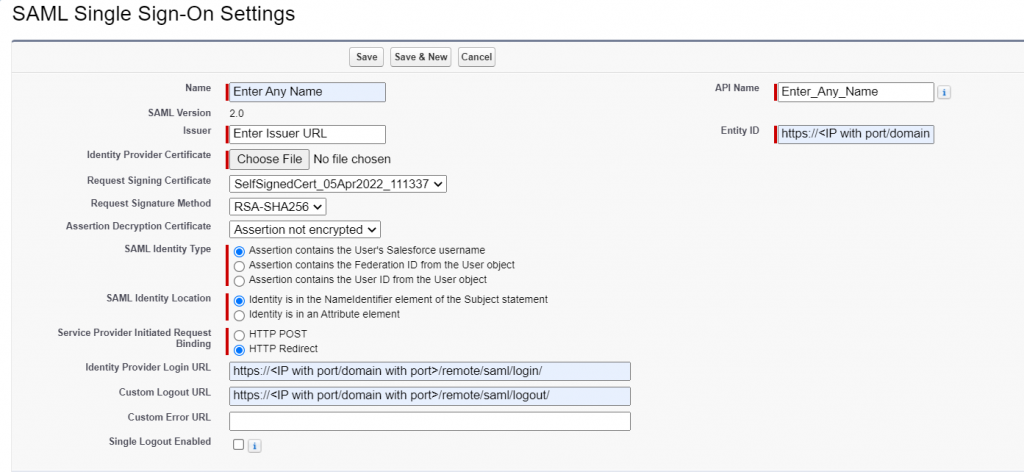
SAML Configuration
- Name : Enter any name.
- SAML Version : Make sure it is set to 2.0 as the default.
- Issuer : Copy and paste from the PureAUTH Dashboard.
- Identity provider Certificate : Download and upload the certificate.
Note: The certificate is already generated on the PureAUTH portal. —–BEGIN CERTIFICATE—–to —–END CERTIFICATE—– copy the X.509 certificate and Paste it into a text editor and save it as a “.pem” file.
- Service Provider Initiated Request Binding : Check the option “HTTP Redirect“.
- Identity Provider Login URL : Copy and paste from the PureAUTH Dashboard.
- Custom Logout URL : Copy and paste from the PureAUTH Dashboard.
- API Name : Enter any name.
- Entity ID : If you have custom domain setup, Use your custom URL, If not use https://smal.saleforce.com
- Click Save.
- After saving, it generates endpoints for your organization.

- Copy the Login and Logout URL and replace it in PureAUTH with the same login and logout URL.
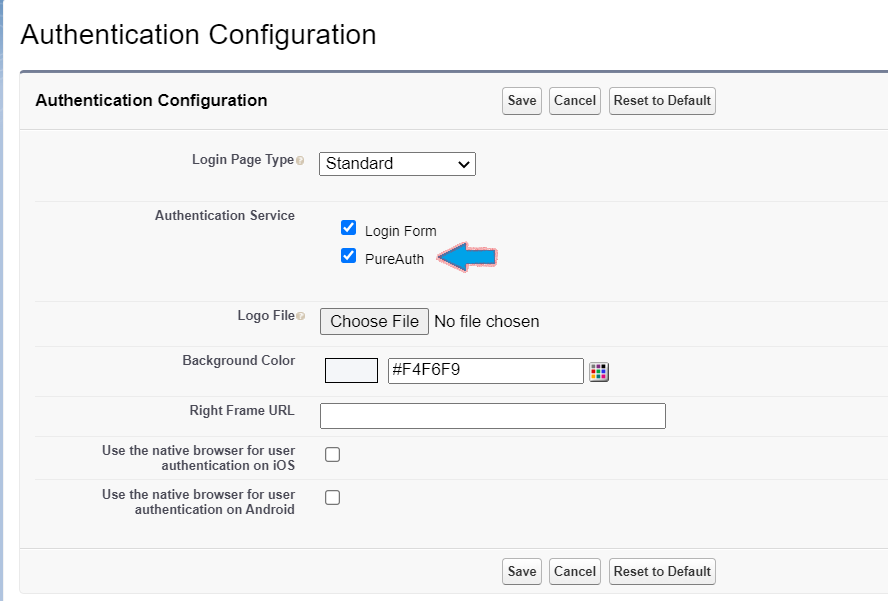
Set up Authentication Service in Salesforce
- Go to My Domain > Authentication configuration Section > Edit.
- Select your Authentication Service, then Save.
Setup authentication for single sign-on to the user profile.
- Go to Users > new user
- Fill in all of the required information and then click Save.
- Congratulations! You are now using Salesforce passwordless.