Introduction
This document explains how to configure and manage the Okta SAML integration with the PureAUTH Identity Platform and make Okta authentication Passwordless.
Integration with PureAUTH helps you enable the SSO and passwordless capability for Okta users using the Security Assertion Markup Language (SAML) 2.0 authentication standard.
Prerequisites
- The admin user role in Okta is to activate the integration.
- PureAUTH Identity provider administrator access.
Set up Okta application on PureAUTH.
In this step we will add a new Okta application on the N4cer portal. Please follow the steps given below:
- Log in to https://live.pureauth.io/
- Go to the “Applications” tab on the left panel.
- Click on “Add Application”.

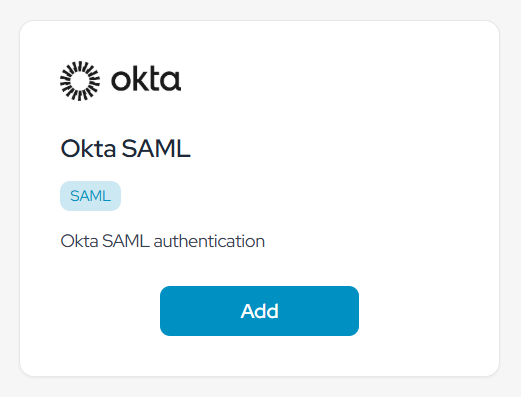
- Select “Okta SAML” application.
- Enter any application name. Ex – “Okta”
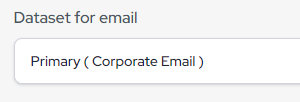
- Select “Primary (Corporate email)” in the dataset for the email field.
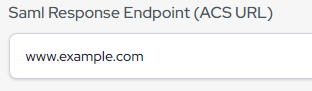
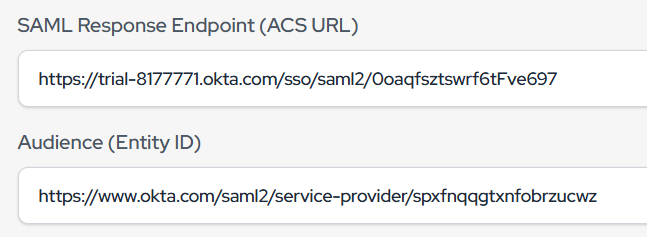
- In the “SAML Response Endpoint (ACS URL)” field, enter the following URL, which we will change later.
- In the “Audience (Entity ID)” field, enter the following URL, which we will change later.

- Keep the Sign Assertion toggle on.
- Click on “Add Attribute.”
- Set the values as follows:-
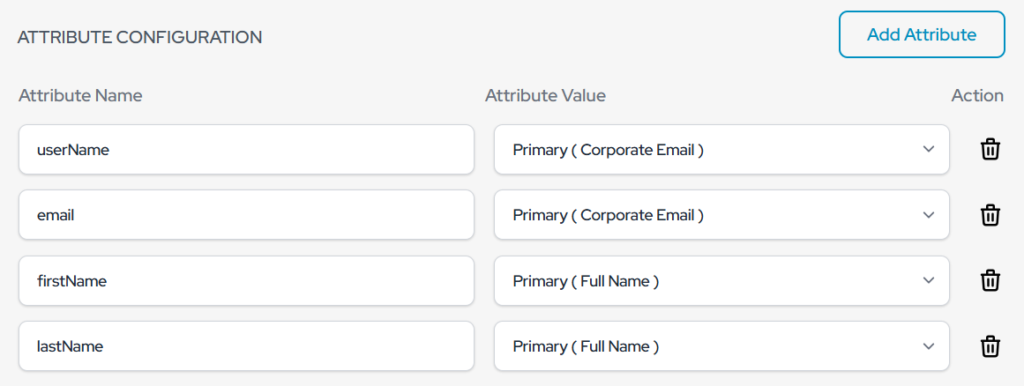
- Click “Add”
Okta SAML configuration
- Log in to the Okta admin console.
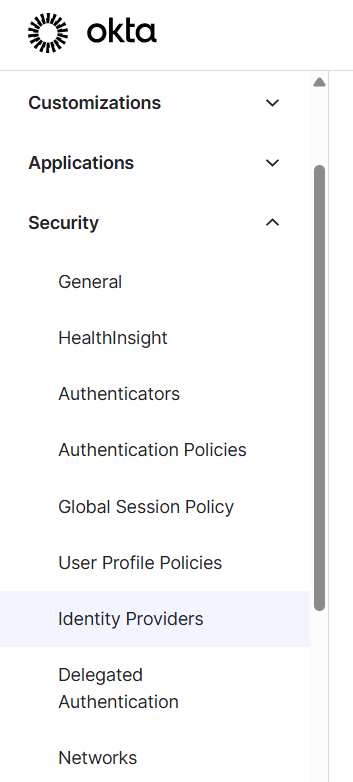
- In the left panel, go to Security > Identity Providers.
- Click “Add Identity Provider” and select the “SAML 2.0 IDP” option.
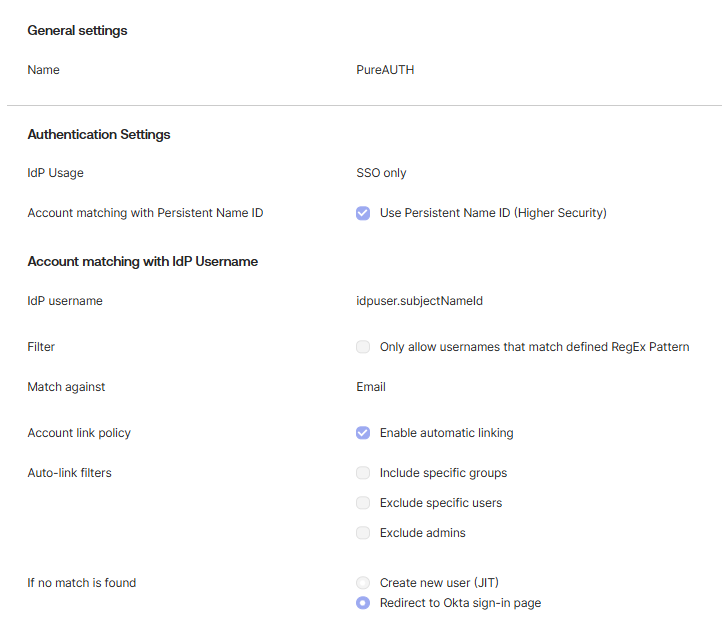
- Set the “Name” of your choice and the IdP Usage to SSO only.
- Enable Use Persistent Name ID and set the IdP username to “idpuser.subjectNameId”.
- Disable the Filter option and set Match against “Email”.
- Check Enable automatic linking.
- Keep all options unchecked in Auto-link filters
- If no match is found, select “Redirect to Okta sign-in page”.
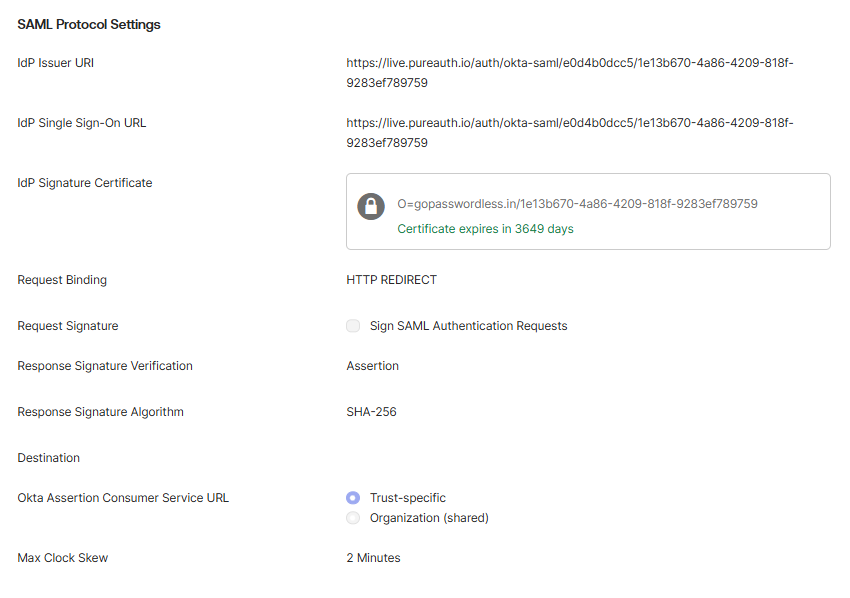
- Enter the IdP Issuer URI and IdP Single Sign-On URL. You will find it in the PureAUTH Portal, which we created in application step 1 under SAML settings.
- Download the certificate from PureAUTH and upload it to the IDP signature Certificate.

- Set Request Binding to HTTP REDIRECT
- Request Signature unchecked.
- Set Response Signature Verification to Assertion
- Set Response Signature Algorithm to SHA-256.
- Leave the Destination field blank.
- Set the Okta Assertion Consumer Service URL to Trust-specific.
- Set Max Clock Skew to 2 Minutes.
- Now, click on finish.
- After configuring the Identity Provider, you will get the Assertion Consumer Service URL and Audience URL for IDP (Mentioned in Step 1)
- Paste the values into the Okta Application you created.
- Go to the Routing rules tab.
- Click on Add Routing Rule.
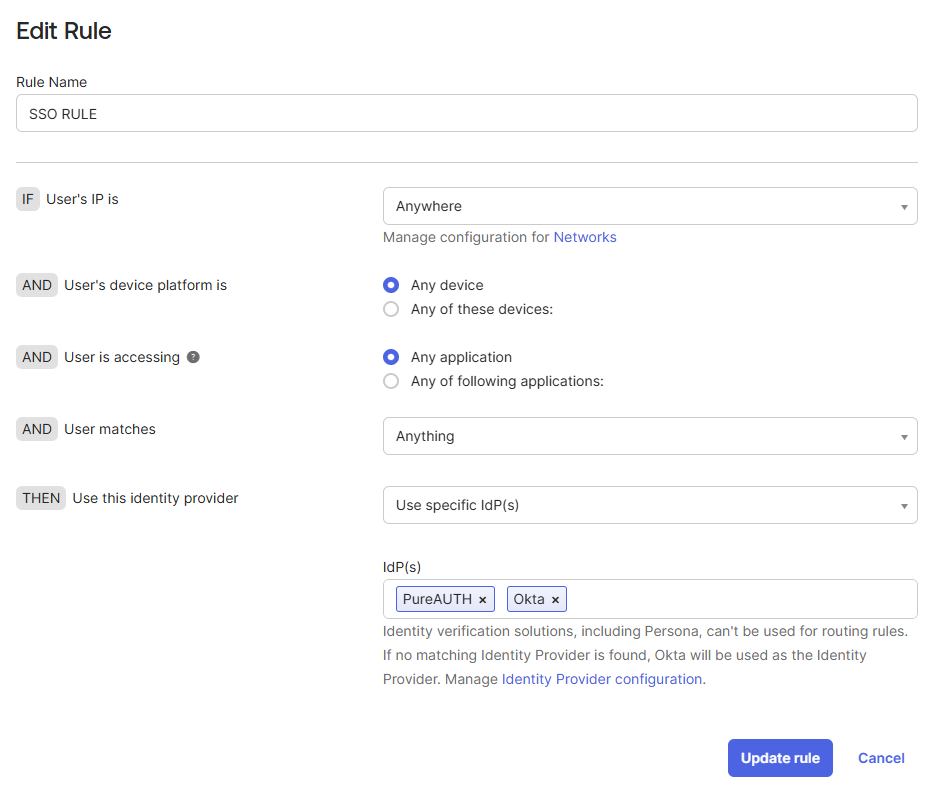
- Set the Rule Name to “SSO RULE” and set the User’s IP to “Anywhere“.
- Set the User’s device platform to “Any device” and the User is accessing “Any application“.
- Set User matches to “Anything” and Use this identity provider to “Use specific IdP(s)“.
- Select both PureAUTH and Okta in the IdP list. (Optional)
Note – If you select only PureAUTH in the IdP list, users will be redirected to the PureAUTH QR sign-in page and set default authentication.
If you select both PureAUTH and Okta, users will see the options to sign in through Okta credentials and login with SSO.
If you select only Okta, users will be redirected to the Okta login page.
Set above Rule configurations as per your requirement.
- Click “Update rule” to save the configuration.
Test SAML Authentication
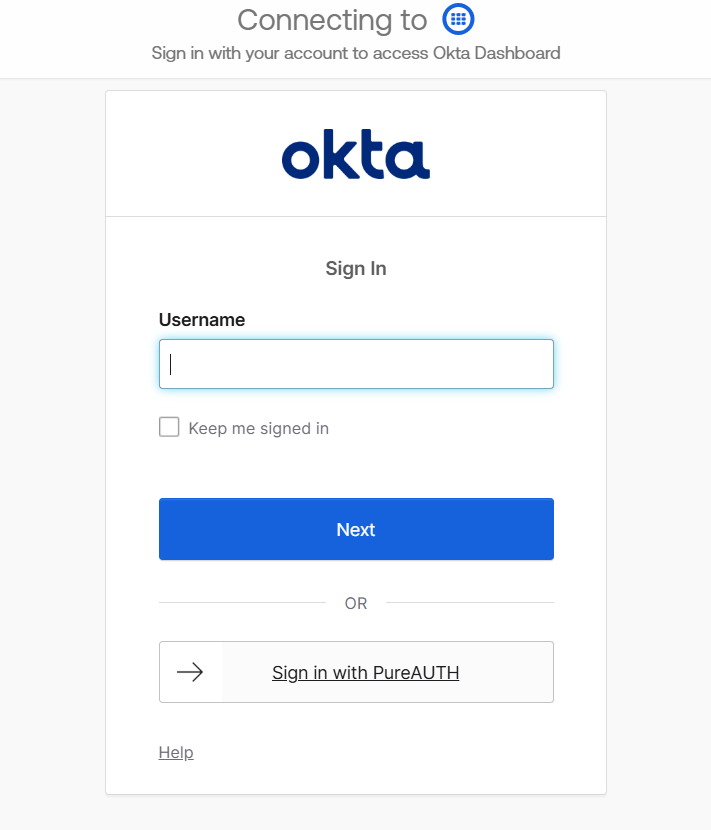
- Go to the Okta login page.
- Click on the “Sign in with PureAUTH” button.
- The browser will redirect you to the PureAUTH sign-in page.

- Open the AuthVR5 Authenticator application and scan the QR using the swift login button.
Disable SAML Authentication
- Log in to the Okta admin console.
- From the left panel, navigate to Security > Identity Providers.
- PureAUTH IdP and deactivate it.
Further Support
For further information or assistance, please contact the PureID support team at support@pureid.io.