Introduction
This document explains how to configure and manage the FortiClient EMS SAML integration with the PureAUTH Identity Platform and make FortiClient EMS authentication Passwordless.
Integration with PureAUTH helps you enable the SSO and passwordless capability for FortiClient EMS users using the Security Assertion Markup Language (SAML) 2.0 authentication standard.
Prerequisites
- Admin user role in FortiClient EMS to activate the integration.
- PureAUTH Identity provider administrator access.
Setup FortiClient EMS application on PureAUTH.
In this step we will add a new FortiClient EMS application on the N4cer portal. Please follow the steps given below:
- Login to https://live.pureauth.io/
- Go to the “Applications” tab on the left pane.
- Click on “Add Application”.
- Select “Custom app” application.
- Enter any application name. Ex – “FortiClient EMS”
- Select “Primary (Corporate email)” in the dataset for the email field.
- In the “SAML Response Endpoint (ACS URL)” field, enter the following URL for now (It will change according to SP ACS URL).
https://<IP Address>/fct_saml/<SP Prefix>/acs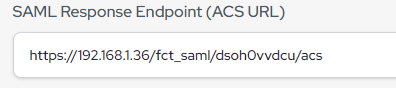
- In the “Audience (Entity ID)” field, enter the following URL for now (It will change according to SP Entity ID).
https://<IP Address>/fct_saml/<SP Prefix>/metadata/ 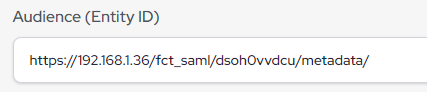
- Click “Add Attribute”
- Attribute Name “userPrincipalName”
- Attribute Value “Primary (Corporate Email)”

- Click “Add”
FortiClient EMS SAML configuration
- Login to FortiClient EMS admin console.
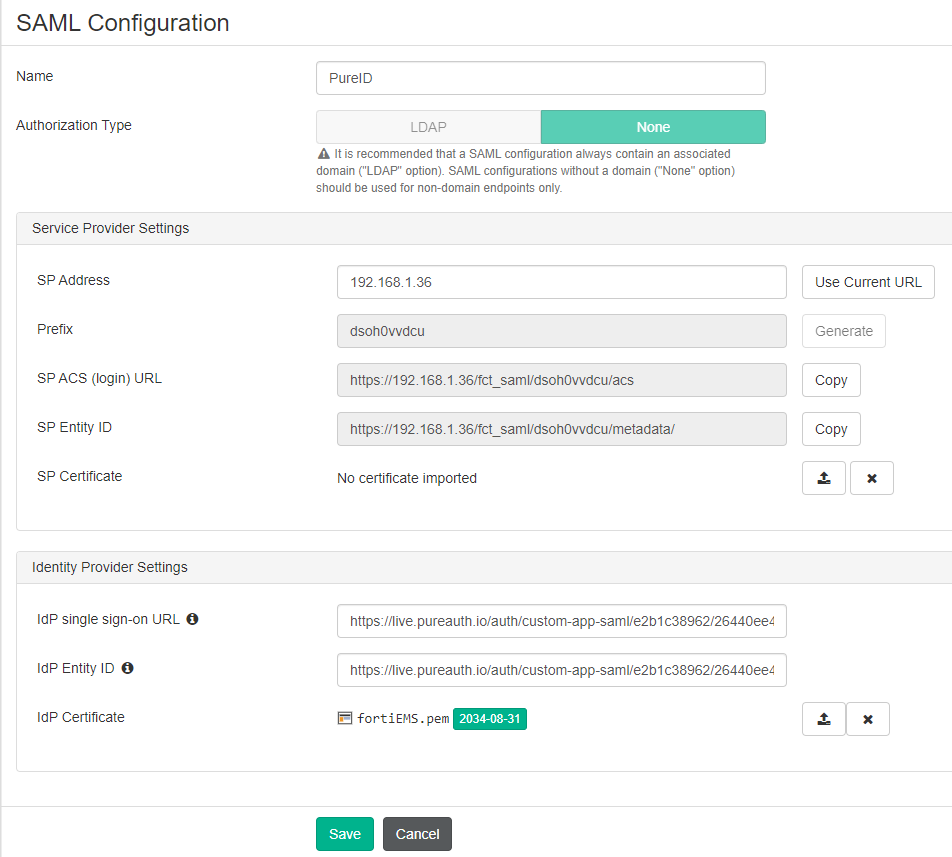
- Go to User Management > SAML Configuration.
- In the Name field, enter the desired name for this configuration. Ex PureID
- For Authorisation Type, do one of the following:
- Select LDAP to associate a domain with this SAML configuration. From the Domain drop-down list, select the desired domain.
- Select None to not associate a domain with this SAML configuration. This is only recommended if the uses are created locally.
- Under Service Provider Settings, Click on “Use Current URL” in SP Address.
- Copy the SP ACS (login) URL and Entity ID from the FortiClient EMS and replace it with the SAML response URL (ACS URL) and Entity ID in PureAUTH.
- Under Identity Provider Settings.
- Copy “SAML Login URL” from PureAUTH and Paste under IdP Single-sign on URL.
- Copy “Issuer URL (Entity ID)” from PureAUTH and Paste under IdP Entity ID.
- Copy the X.509 certificate from —BEGIN CERTIFICATE — to — END CERTIFICATE — and paste it in the notepad and save it as .pem extension. Ex. FortiEMS.pem
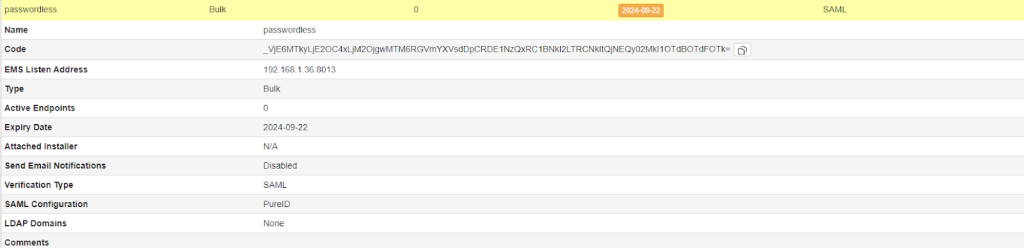
Generate SAML Invitation
- Go to Invitations in the upper right corner or in Endpoints > Invitations, or in User Management > Invitations.
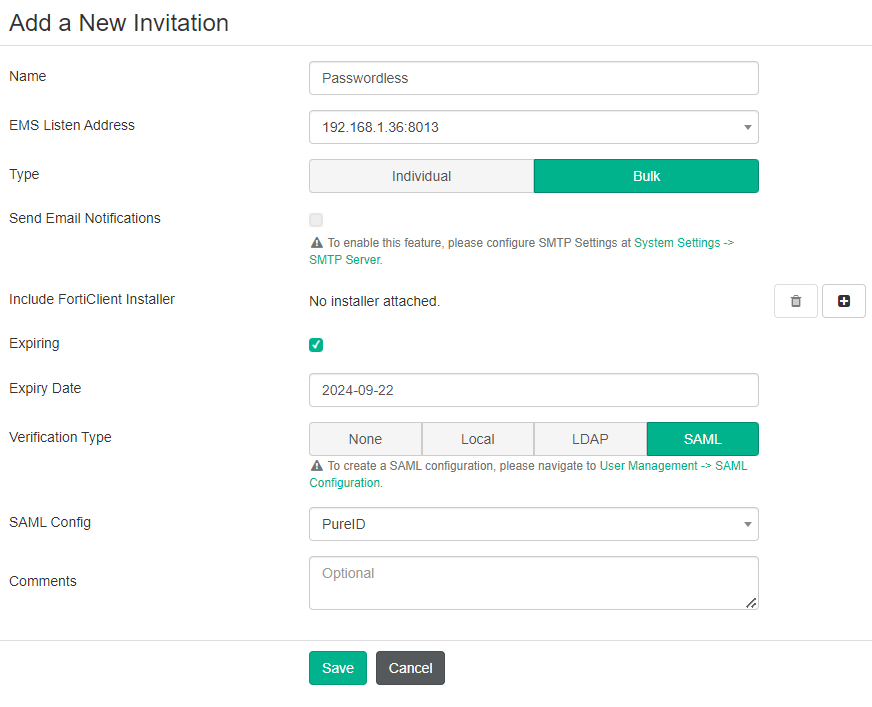
- To create a new invitation code, click Add.
- Enter a new invitation name Ex. Passwordless
- From the EMS Listen Address dropdown list, select the desired address.
- Select Bulk, To send the code to a single recipient, select Individual.
- Enable Send Email Notifications. You can only enable this option if you have configured SMTP settings.
- If desired, enable Expiring.
- In the Expiry date field, set the expiry date.
- Select SAML and select the Idp (PureID) in the SAML Config dropdown.
- Click Save.
Test SAML Authentication
- Go to FortiClient in the Client machine.
- Enter the SAML Invitation code/IP in the Zero trust telemetry and click connect.
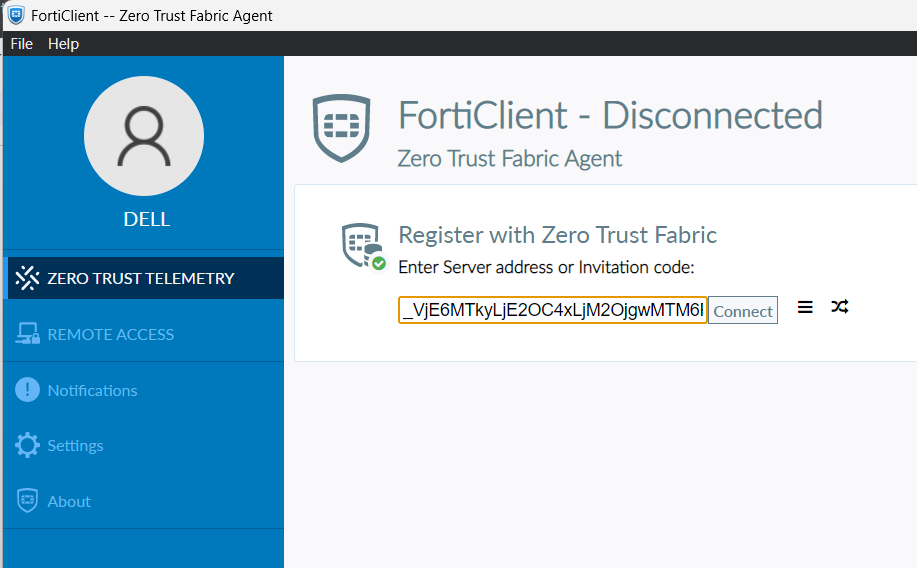
- Browser redirects you to the PureAUTH sign-in Page.
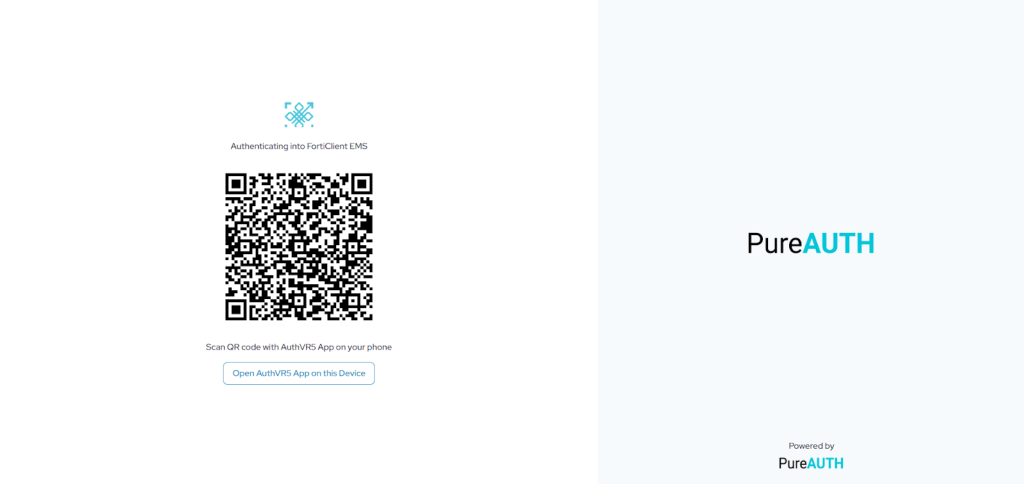
- Open the AuthVR5 Authenticator application and Scan the QR using the swift login button.
Disable SAML Authentication
- Login to FortiClient EMS admin console.
- Go to User Management > SAML Configuration.
- Disable the IdP Enabled checkbox
.

Further Support
For further information or assistance, please contact PureID support team support@pureid.io.