Introduction
This document explains how to configure and manage the Oracle Cloud Infrastructure (OCI) SAML integration with the PureAUTH Identity Platform and make OCI authentication Passwordless.
Integration with PureAUTH helps you enable the SSO and passwordless capability for OCI users using the Security Assertion Markup Language (SAML) 2.0 authentication standard.
Prerequisites
- Administrator user role in OCI to activate the SAML integration.
- PureAUTH Identity provider administrator access.
Setup OCI application on PureAUTH.
In this step we will add a new OCI application on the N4cer portal. Please follow the steps given below:
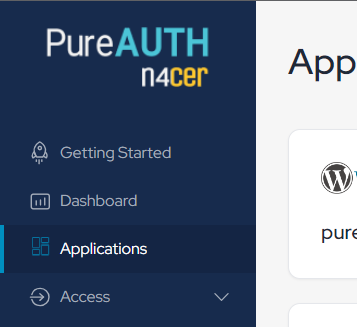
- Login to https://live.pureauth.io/
- Go to the “Applications” tab on the left pane.
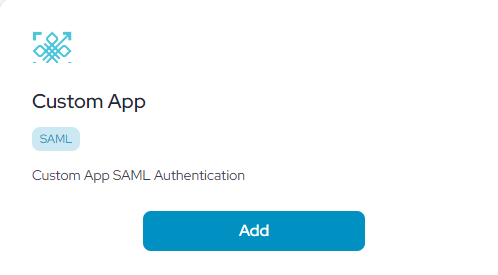
- Click on “Add Application”.

- Select “Custom app” application.
- Enter any application name. Ex – “Oracle Cloud Infrastructure”
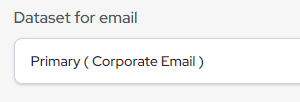
- Select “Primary (Corporate email)” in the dataset for the email field.
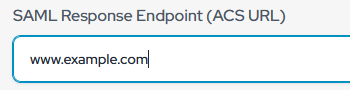
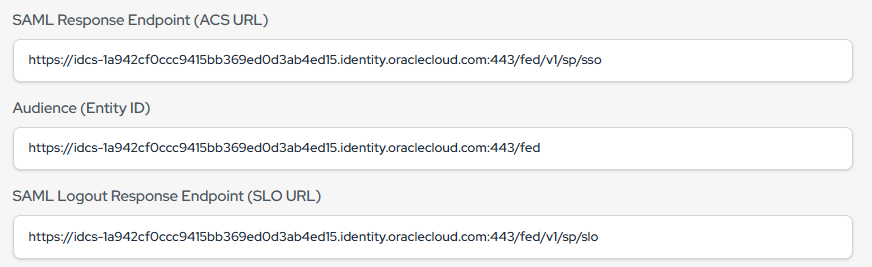
- In the “SAML Response Endpoint (ACS URL)” field, enter the following URL for now (It will change according to SP Metadata).
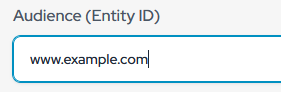
- In the “Audience (Entity ID)” field, enter the following URL for now (It will change according to SP Metadata)..
- Click “Add Attribute”
- Set Attribute Name UserName → Attribute Value Primary (Corporate Email)

- Enable Sign Assertion.
- Click “Add”.
- You can now view the SAML settings, which include the Issuer URL, Login URL, Logout URL, and the X.509 Certificate needed for authentication.
OCI SAML configuration
- Login to your OCI Dashboard.
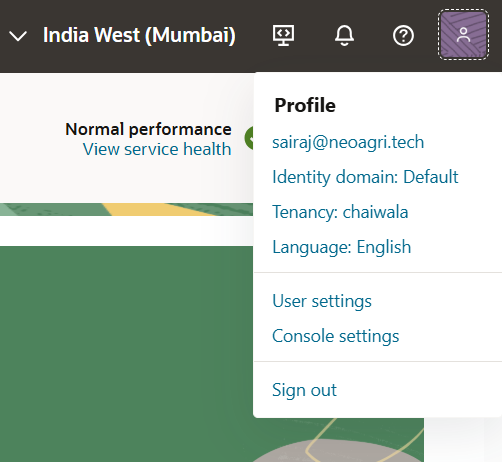
- Go to Profile at the up-right corner.
- Go to Identity Domain.
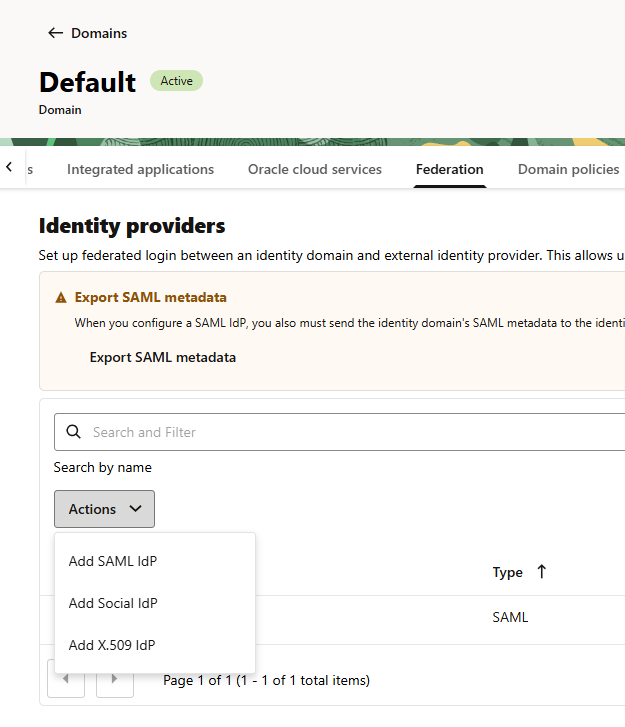
- Go to the “Federation” tab.

- Click the “Actions” dropdown and select “Add SAML IdP”.
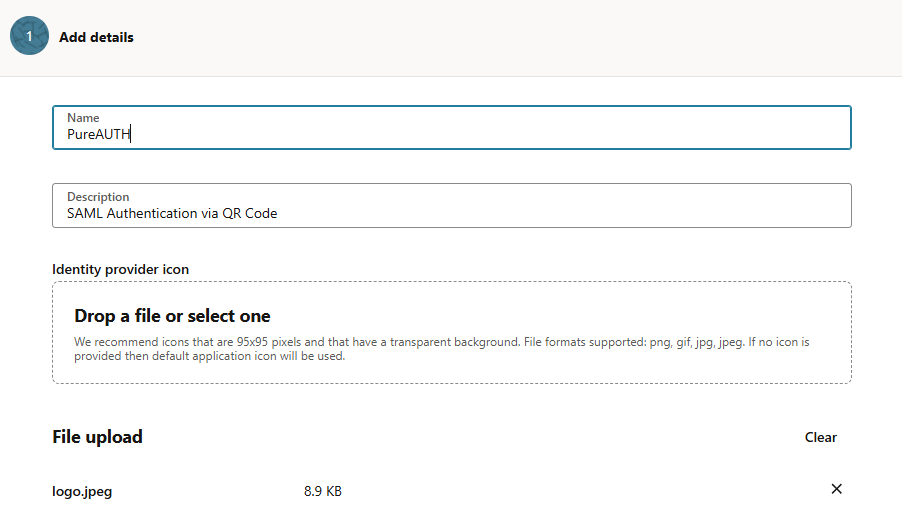
- Enter the required details including Name, Description and Icon for the IdP, then click Next.
- Select “Enter IdP Metadata” and paste the IdP Issuer URI and IdP Single Sign-On URL from the provided PureAUTH URLs.
(You can find these in the PureAUTH Portal, under the SAML settings of the application created in Step 1).
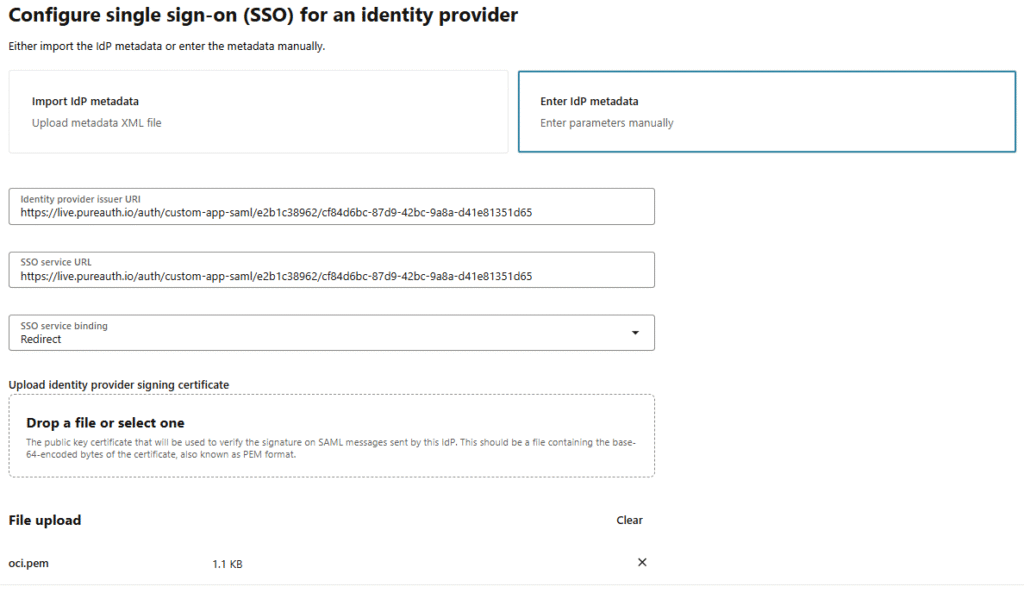
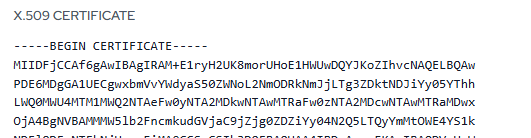
- The certificate is already generated on the PureAUTH portal. Copy the X.509 certificate from —–BEGIN CERTIFICATE—– to —–END CERTIFICATE—–, paste it into a text editor, and save it as a .pem file.
- Disable “Global logout” toggle and click Next.
- Set the Requested NameID format to “Unspecified”, and map the SAML assertion NameID from the identity provider to the “Username” attribute in the identity domain.
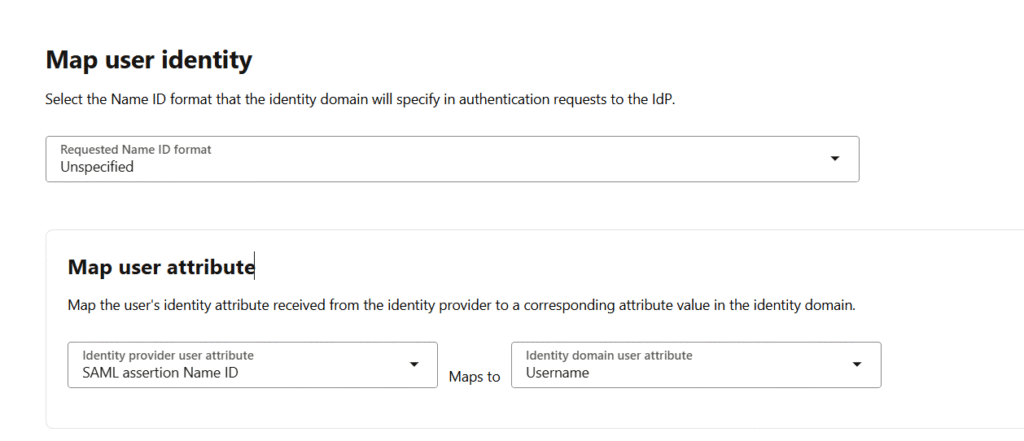
- Review the settings, then click Create IdP.
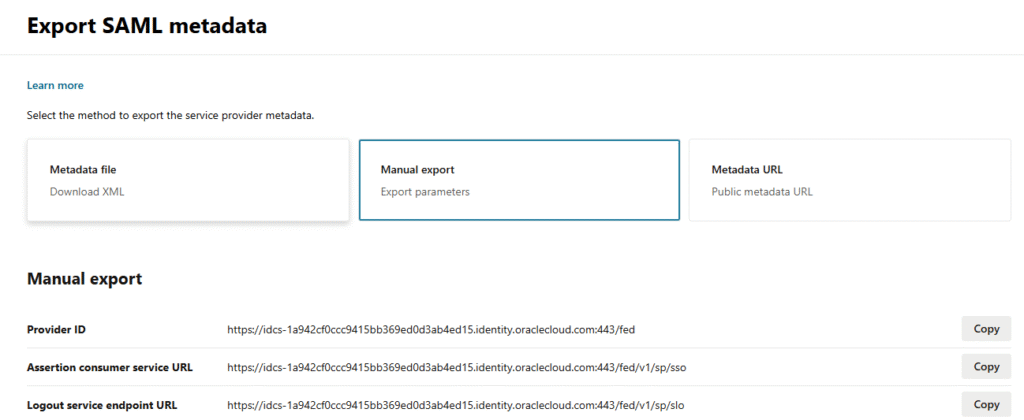
- Next, under the Federation tab click on Export SAML Metadata.
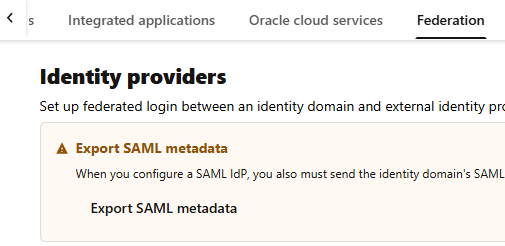
- Select Manual export, now you can see the IdP required values.
- Copy Provider ID : Paste in Audience (Entity ID) in PureAUTH
- Copy Assertion Consumer Service URL : Paste under SAML Response URL (ACS URL) in the PureAUTH
- Copy Logout service endpoint URL : Paste under SAML Logout Response URL (SLO URL) in the PureAUTH
- Activate the PureAUTH IdP by clicking the three dots menu.

Create Identity Provider Policy
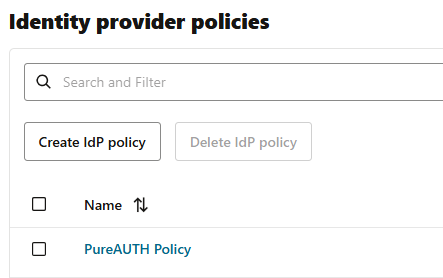
- Go to Identity Provider Policies and click Create IdP Policy.

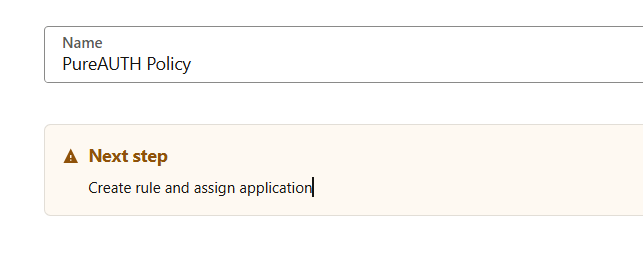
- Enter Policy Name and click Create identity provider policy.
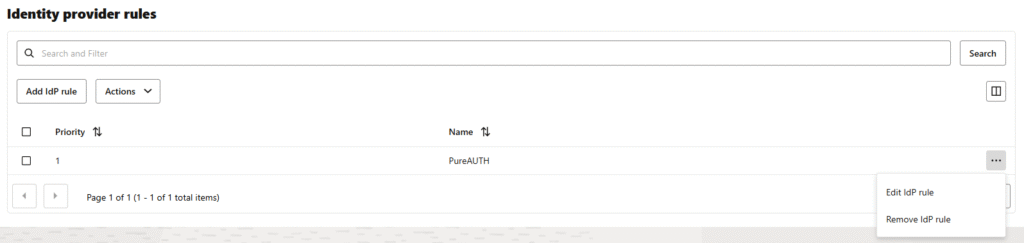
- Go to Identity Provider rules tab and select Add IdP Rule
- Enter the Rule Name and assign both identity providers: Username-Password and PureAUTH.
- If you have a group, you can add the user to it (optional).
- Click Add IdP Rule.
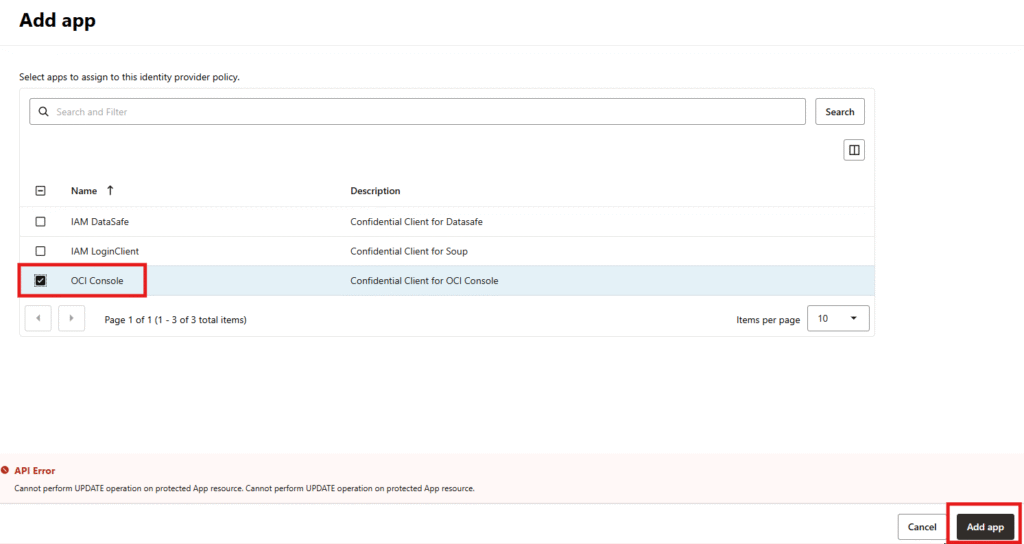
- Go to Add Applications and click on Add App.
- Select OCI Console from the list and add it.
Test SAML Authentication
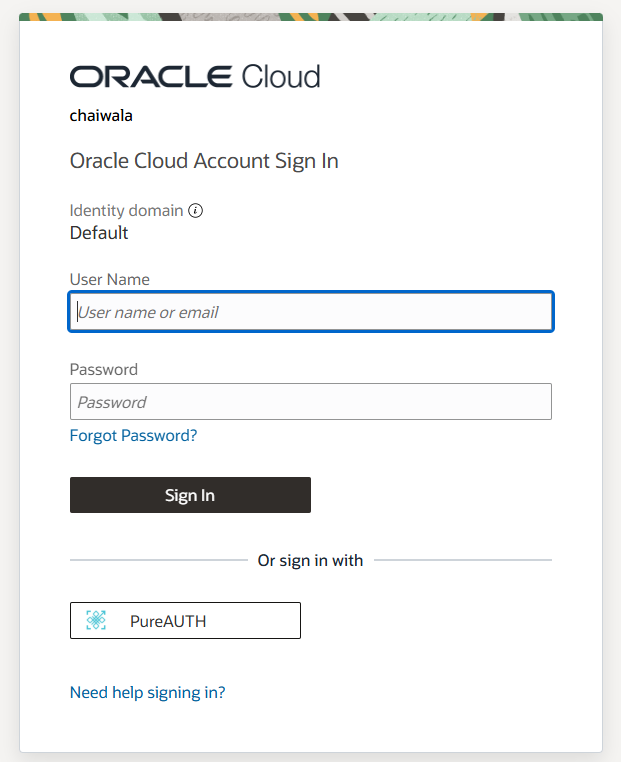
- Go to the OCI login page.
- Click on Login via PureAUTH.
- Browser redirects you to the PureAUTH sign-in Page.
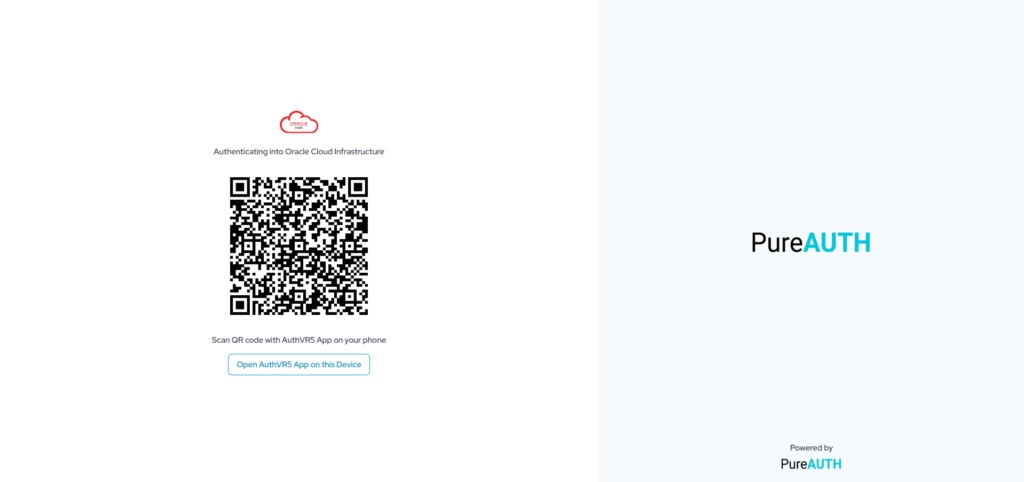
- Scan the QR code using the AuthVR5 (Authenticator) application from mobile or desktop.
- If you have a mobile application, scan QR using the “swift login” button.
- If you have a Desktop application, click the button twice (click two times) below the QR code “Click if this device has AuthVR5 app”.
- Enter your profile PIN.
Disable SAML Authentication
- Login to your OCI Dashboard.
- Go to Profile at the up-right corner.
- Go to Identity Domain.

- Then go to the “Federation” option.
- Next, go to Create IdP Policies and select the “PureAUTH policy”.
- Go to IdP rules and select Edit IdP rule using the three dots menu.
- Remove the PureAUTH IdP from Identity Providers and click Save Changes.
- Finally, deactivate the PureAUTH IdP using the three dots menu.

Further Support
For further information or assistance, please contact PureID support team support@pureid.io.